
When you want to show your Blog posts on a page (beside the original blog page) you can use Blog Posts WPBakery Page Builder element on any page that you want.
To do that please follow this article:
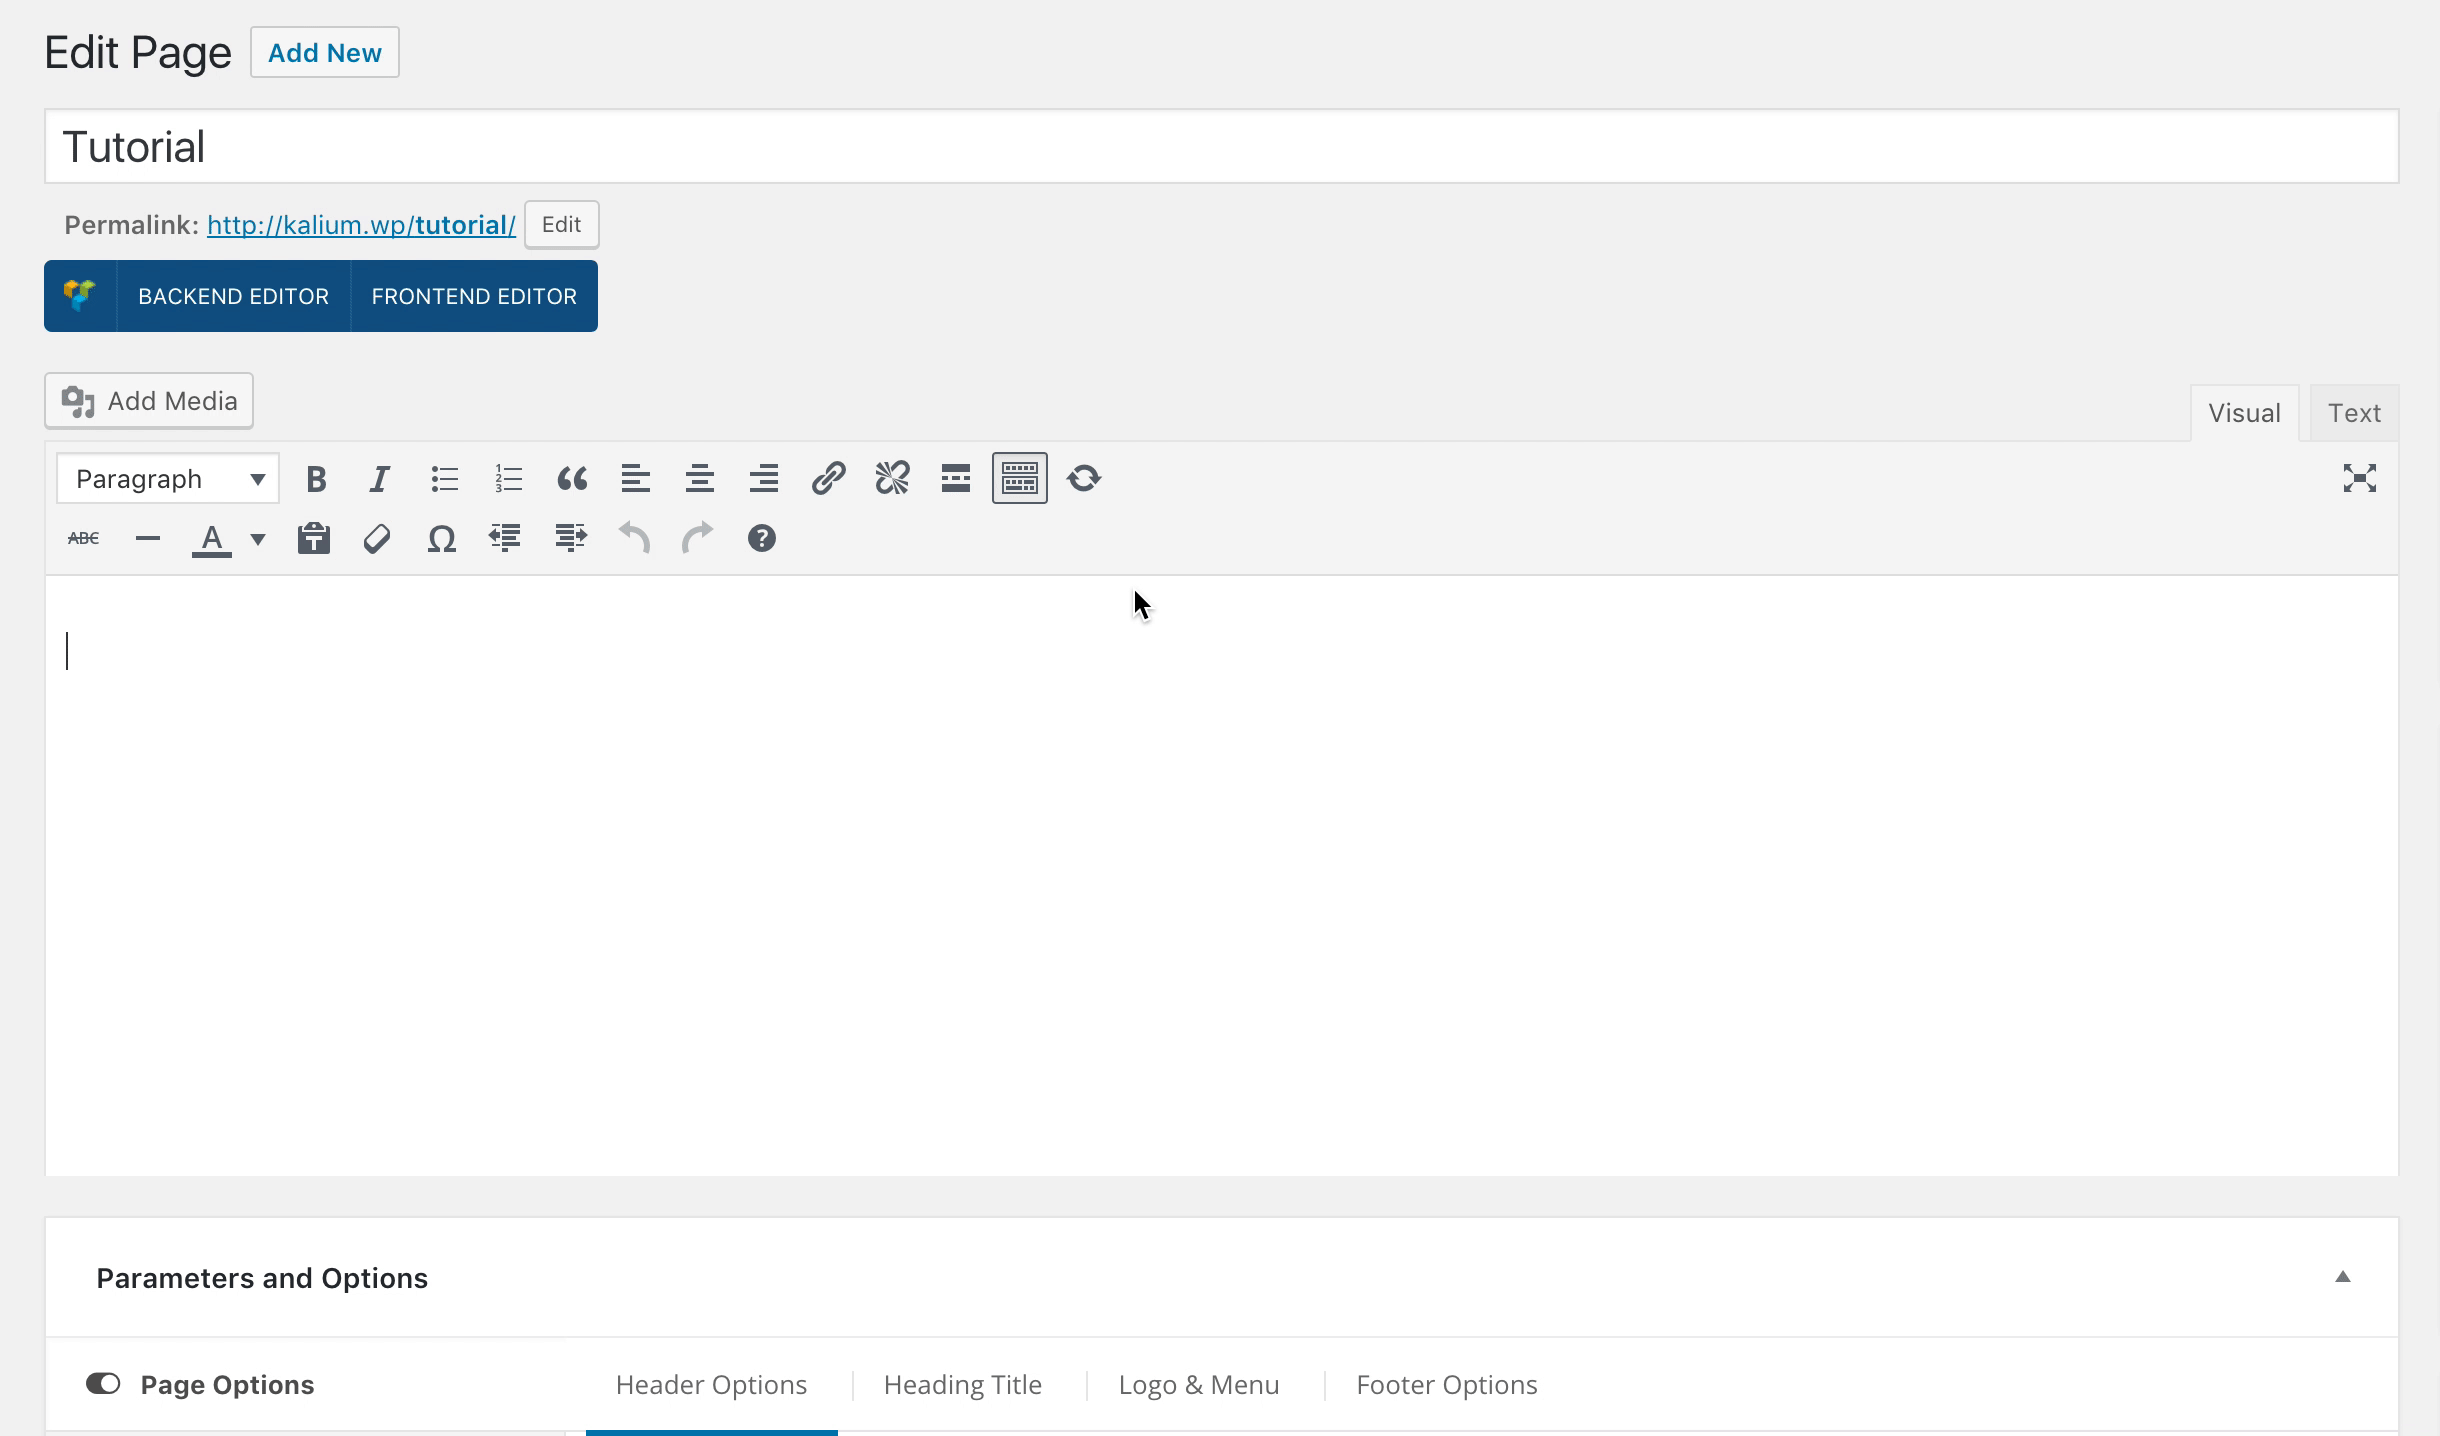
- Make sure that you have clicked Backend Editor button on the WPBakery Page Builder area.
- Click on the Add Element button to continue.
- Then when the Add Elements area appear just click the Laborator tab
- Choose Blog Posts element.
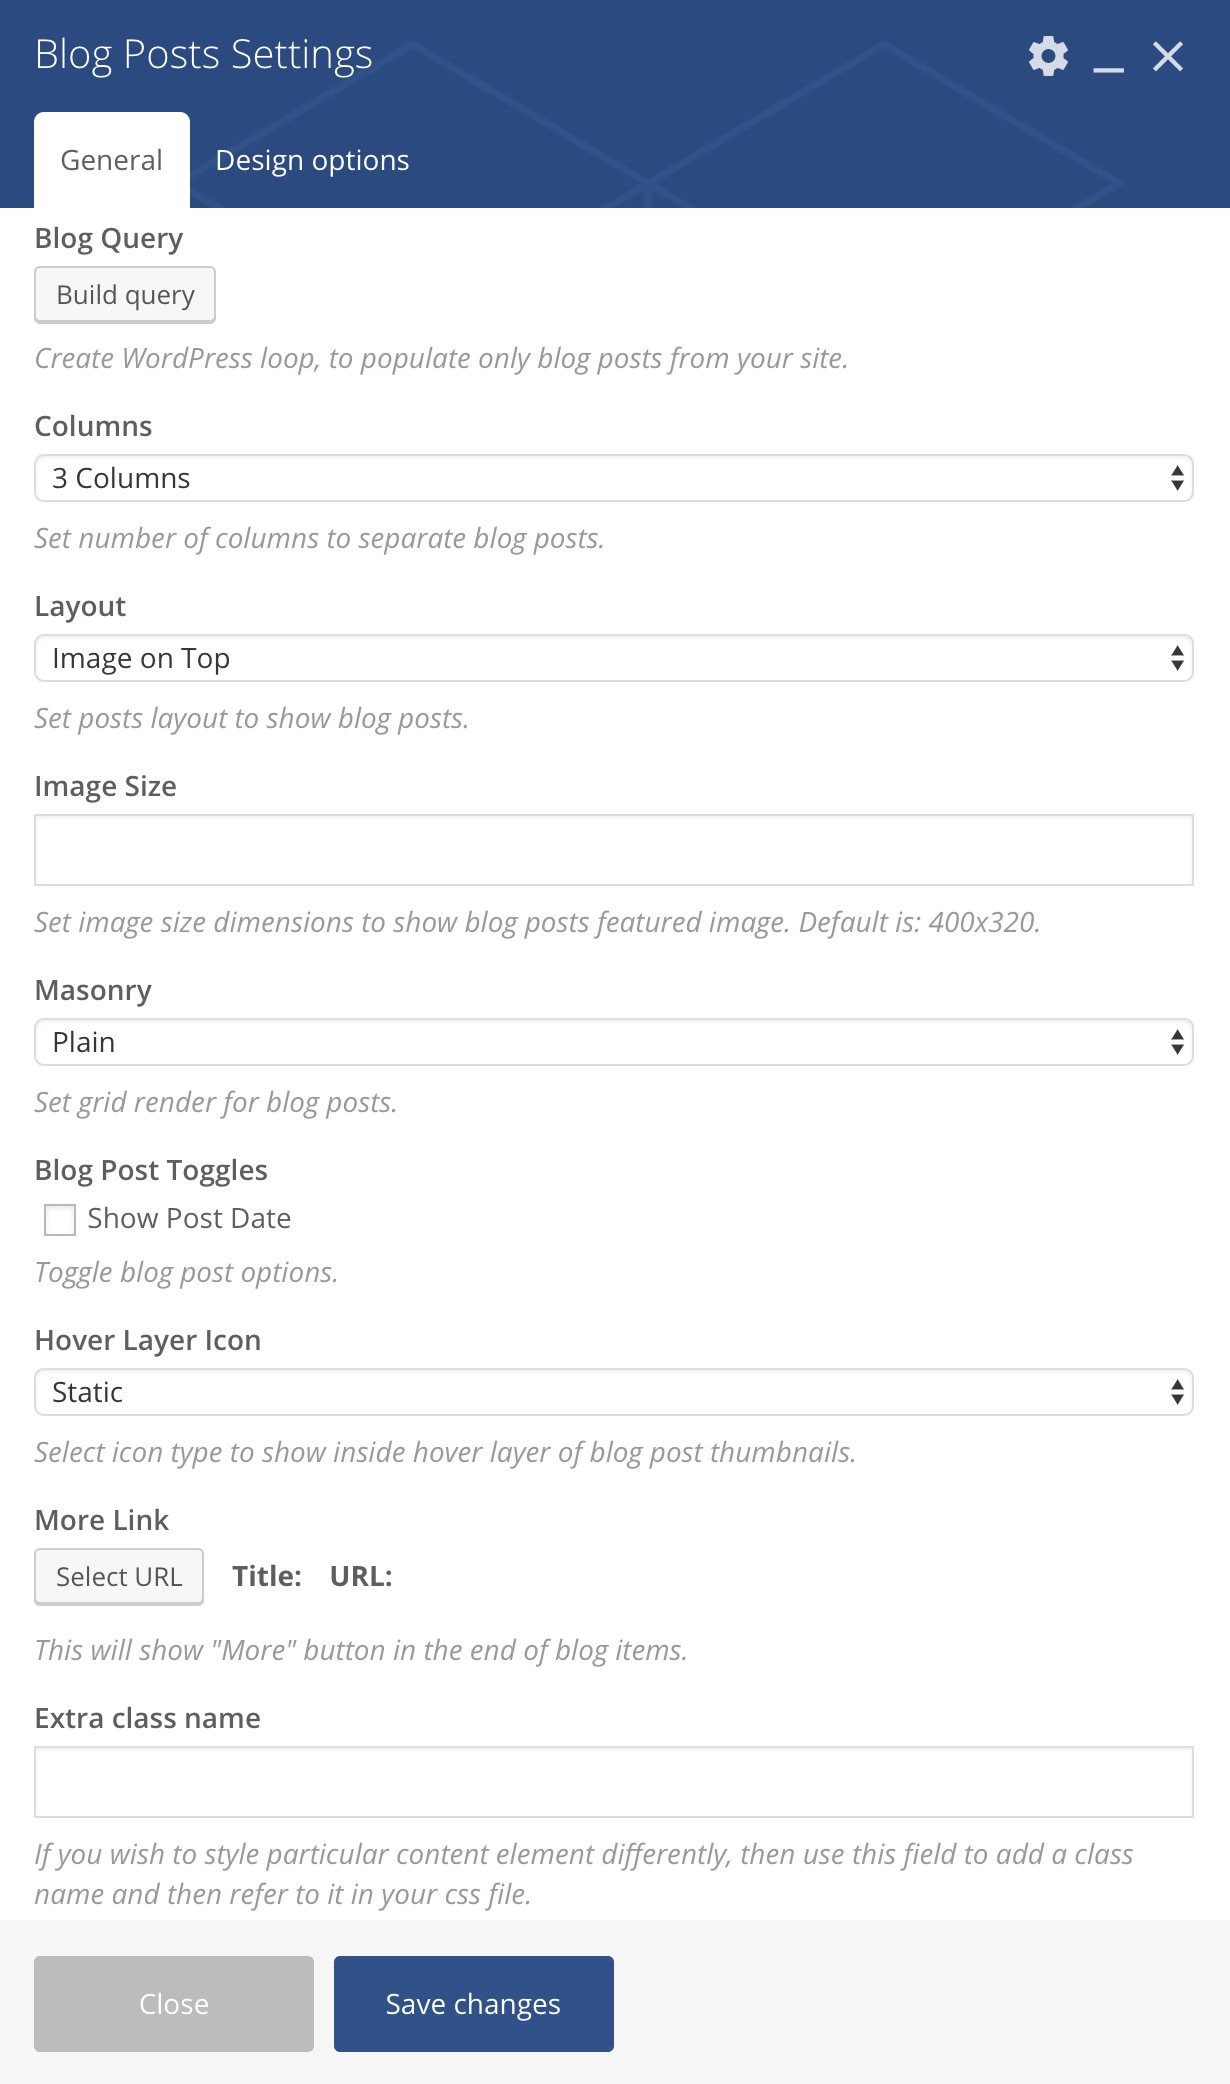
- Blog Posts Settings popup will appear and the options to choose are those:
Blog Posts Settings
- Blog Query — Create WordPress loop, to populate only blog posts from your site. Press Build query button (more info).
- Columns —Set number of columns to separate blog posts. Available options 1 to 4 columns.
- Layout — Choose your prefered blog layout. Available options are Image on Top and Image on Left
- Image Column Width* — Set column width for the image, unit is percentage.
- Image Size — Set image size dimensions to show blog posts featured image. Default is: 400×320.
- Masonry — Set grid render for blog posts. Available options are: Plain, Masonry Mode and Masonry Fit Rows Mode.
- Blog Post Toggles — Tick this option if you want to show Post Date.
- Hover Layer Icon — Select icon type to show inside hover layer of blog post thumbnails. Available options: Static, Animated Eye or Custom Icon (Used from Theme Options)
- More Link — This will show “More” button in the end of blog items. Add a title and the URL there.
- Extra class name — If you wish to style particular content element differently, then use this field to add a class name and then refer to it in your Custom CSS area. This field appear on every WPBakery Page Builder element.
* Only when Image on Left is selected on the Layout area.
Note: Pagination is not available on this element.
You can see how Blog Posts element styles looks on this page.