
Kalium offers three beautiful blog type styles Classic, Rounded or Masonry. Each of them offers some other options so you can create unlimited layouts to make your blog page special. To learn more about them please continue reading this article.
- Go to Laborator > Theme Options
- Choose Blog Settings from the left options list in Theme Options.
- Make sure you have selected the Blog Page from the tabs above.
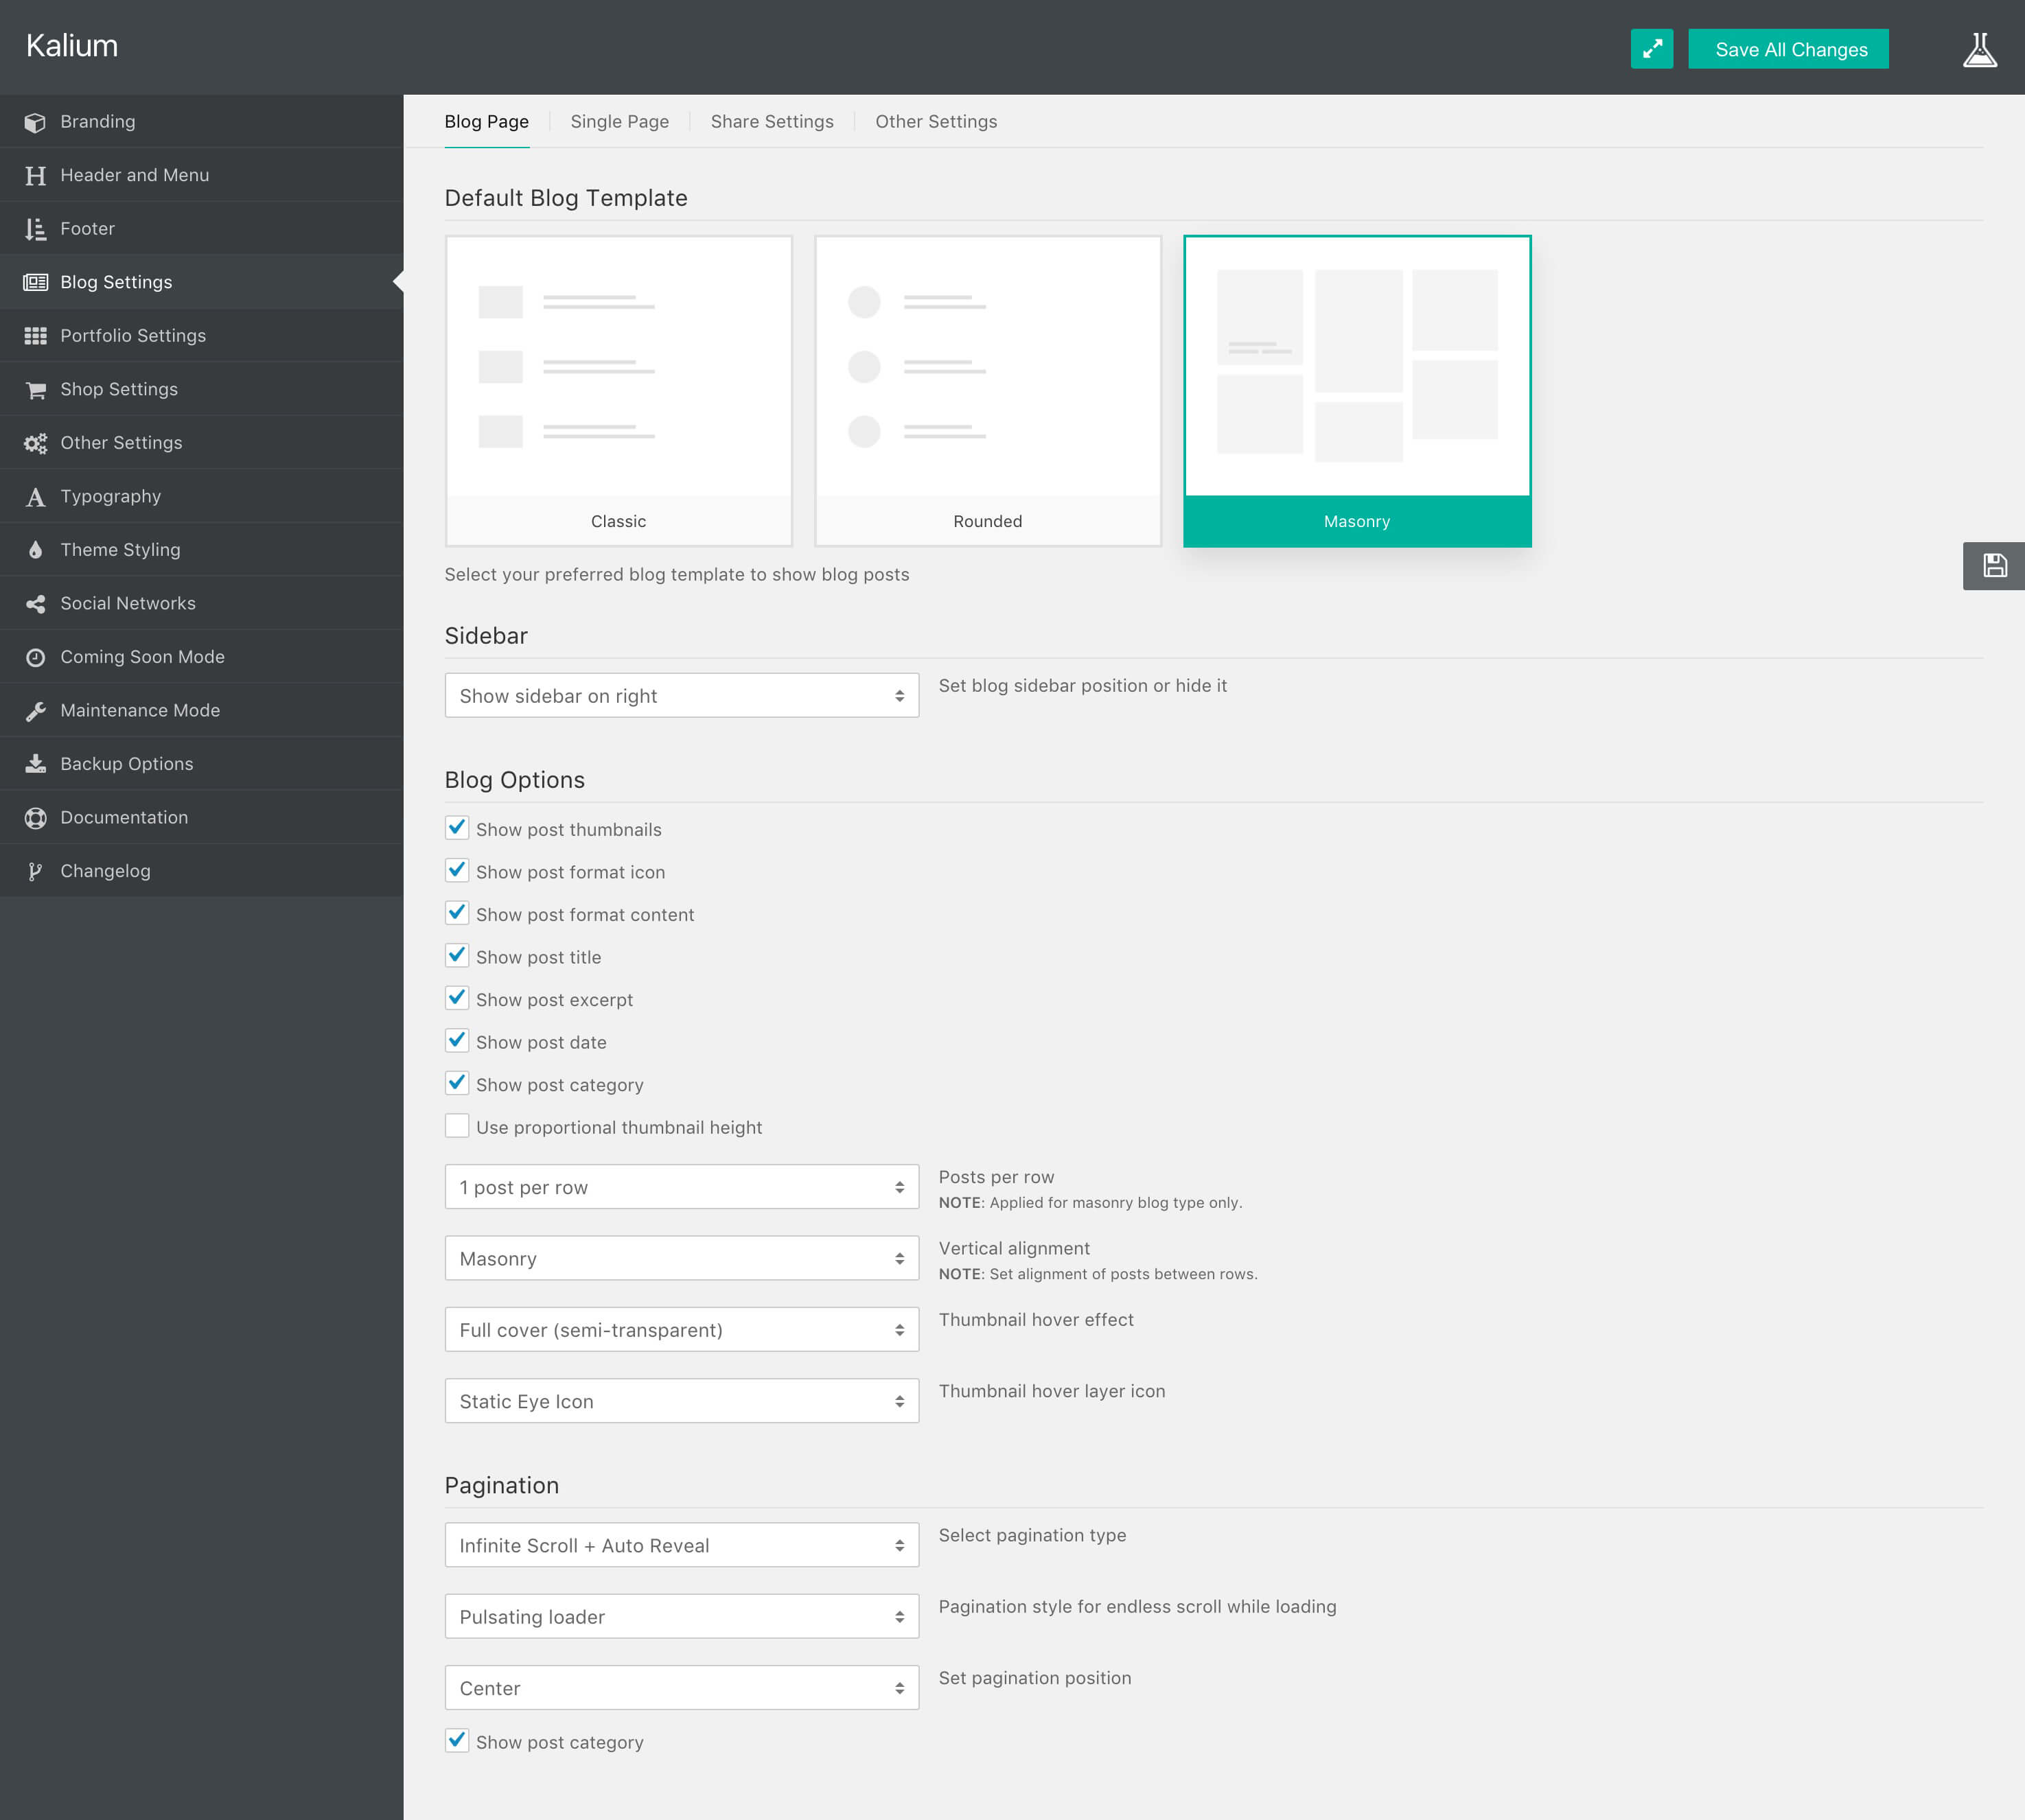
On the Default Blog Template section you can select one of three prefered styles Classic, Rounded or Masonry.

All the menu types offer almost the same settings, here we will explain every option that you will find on the Blog Page tab:
- Sidebar — Here you can set blog sidebar position or hide it, options available are Hide Sidebar, Show Sidebar on Left, or Show Sidebar on Right.
- Show post thumbnails — tick this option if you want to show blog thumbnails on your blog page.
- Show thumbnail placeholders — If there is no featured image attached, gray image will be shown.
- Show post format icon — This will show the icons on your blog posts so users will know if that post format is video, quote audio etc.
- Show post format content — As title says, if you click this option people can interact with your posts from your blog page, so if your post is Gallery, Audio, Video people can read the quote or click play on your media (Example). Note: that this option is not valid for the Rounded style.
- Show post title — This option allows you to show or hide titles of your blog posts on the Blog page.
- Show post excerpt — Allows you to hide the excerpt (description inside the blog post).
- Show post date — This will show on your blog page the date when that post is created.
- Show post category — Show or Hide categories of the blog posts from the Blog page.
- Use proportional thumbnail height* — *This option is available only for the Masonry style.
- Vertical alignment* —Set alignment of posts between rows. Available options are Masonry and Fit Rows. *This option is available only for the Masonry style.
- Columns gap* — Spacing between blog posts *This option is available only for the Masonry style.
- Posts per row — Choose how many posts per row you want to show. Available options are from 1 to 4 rows. Note: Applied for masonry blog type only.
- Thumbnail hover effect — Choose the effect when users hover on the thumbnail of your blog posts, available options are No hover effect, Distanced cover (semi-transparent), Distanced cover, Full cover (semi-transparent) and Full cover.
- Interval of auto-switch for gallery images — As title says this option is available only for the Gallery format there you can set after how many seconds gallery post will change the image.
- Thumbnail hover layer icon — Choose what icon you want to show when users hover on your blog post thumbnails. Options that you can chose are: Static Eye Icon, Animated Eye Icon, or Custom Icon so you can upload your own icon or logo.
- Pagination — There you can change pagination type, available options are Normal (with numbers), Endless Scroll and Endless Scroll + Auto Reveal.
- Set pagination position — Choose if you want to show your pagination on Left, Center, or Right.
Below you have all the three types of blog (plus one bonus) illustrated in screenshots.
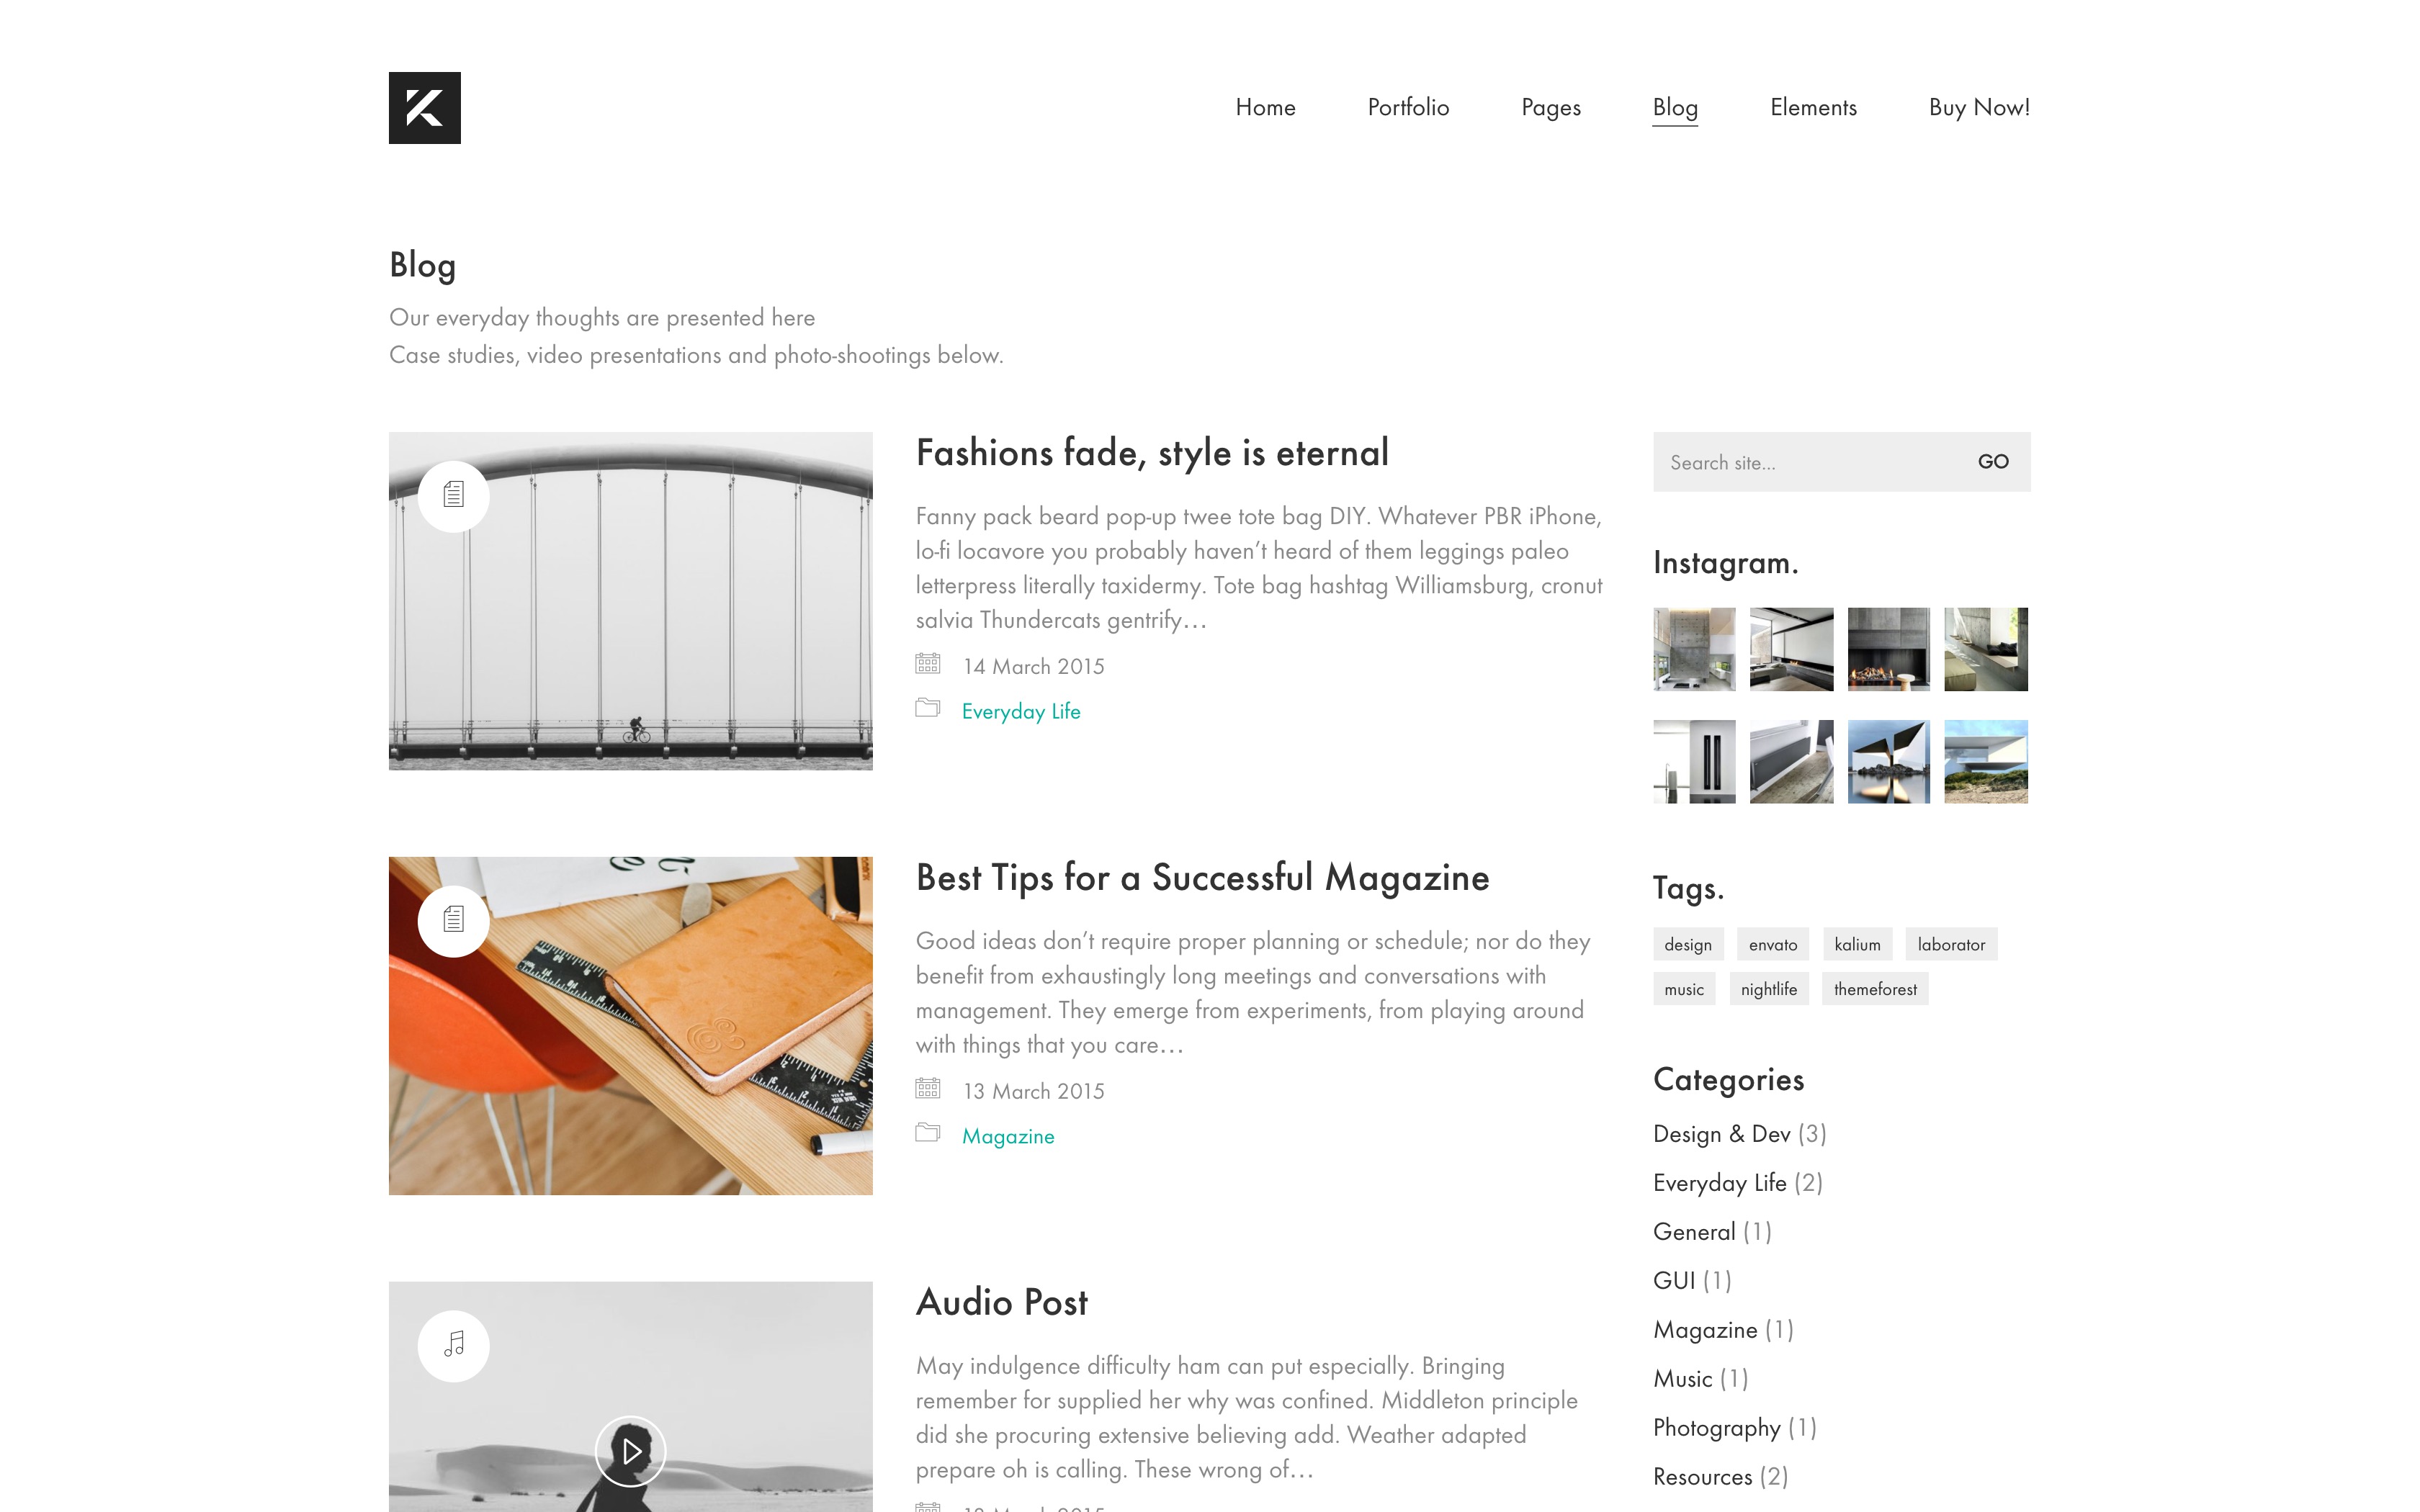
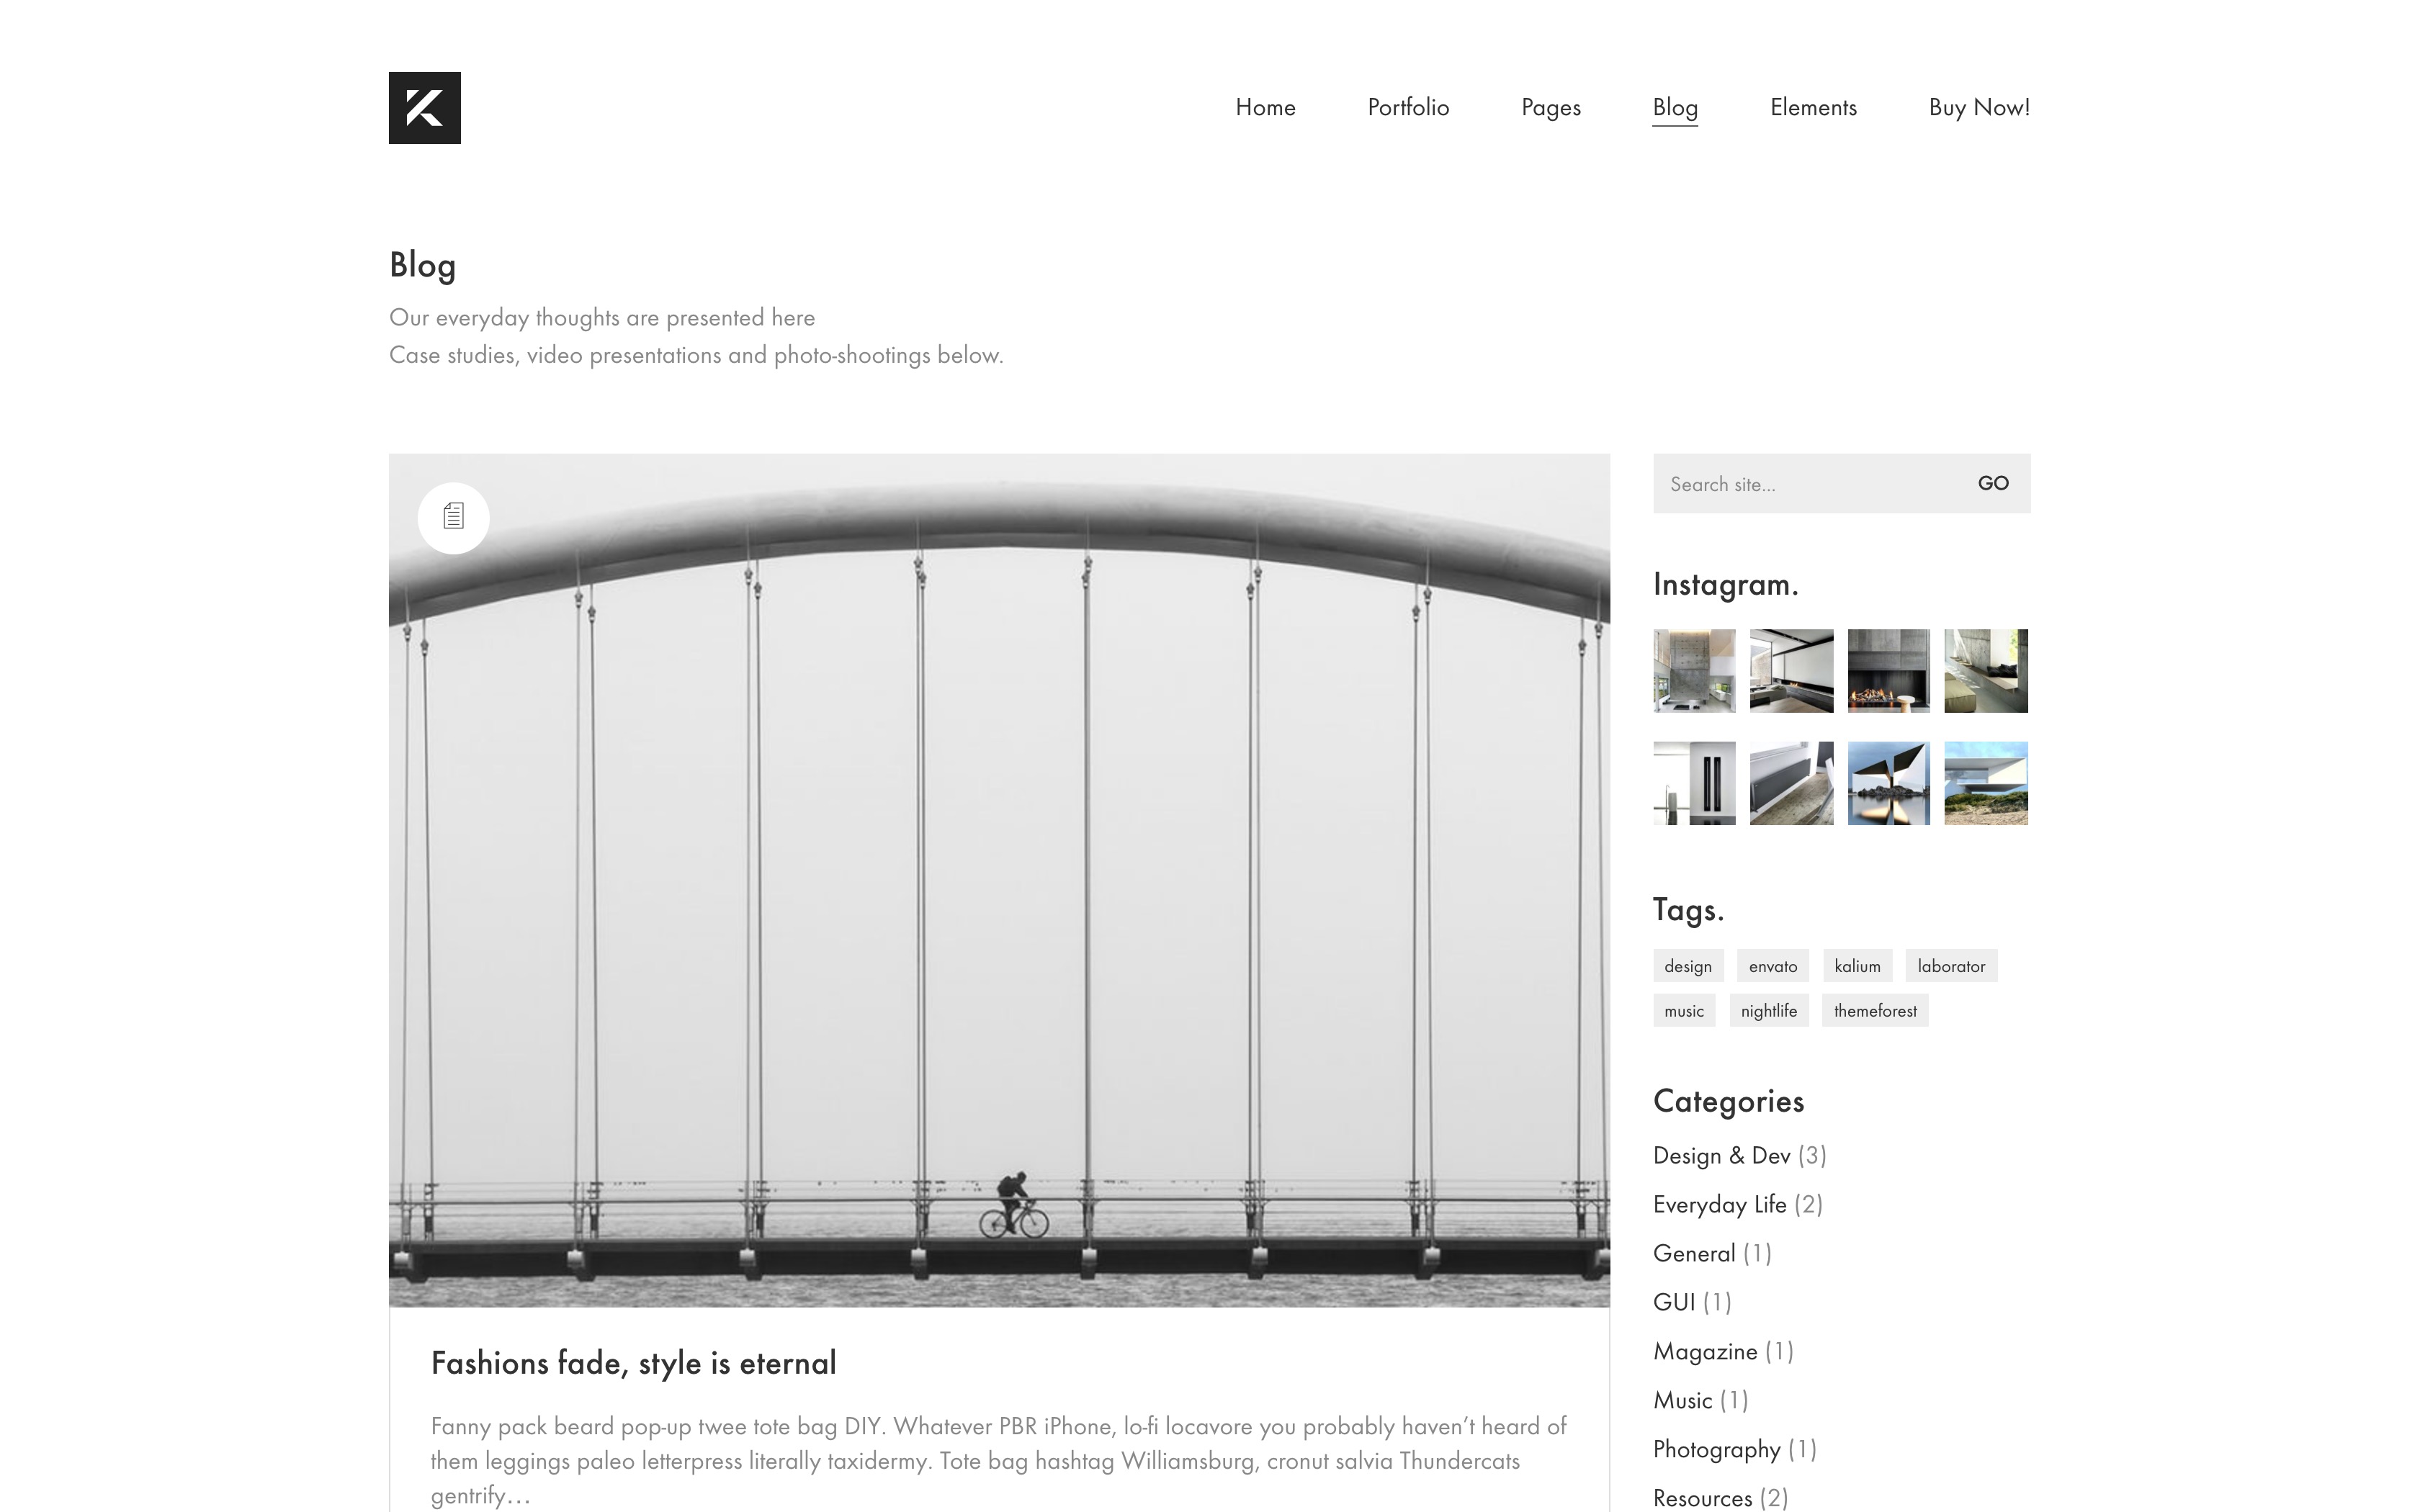
Classic (with Sidebar) |
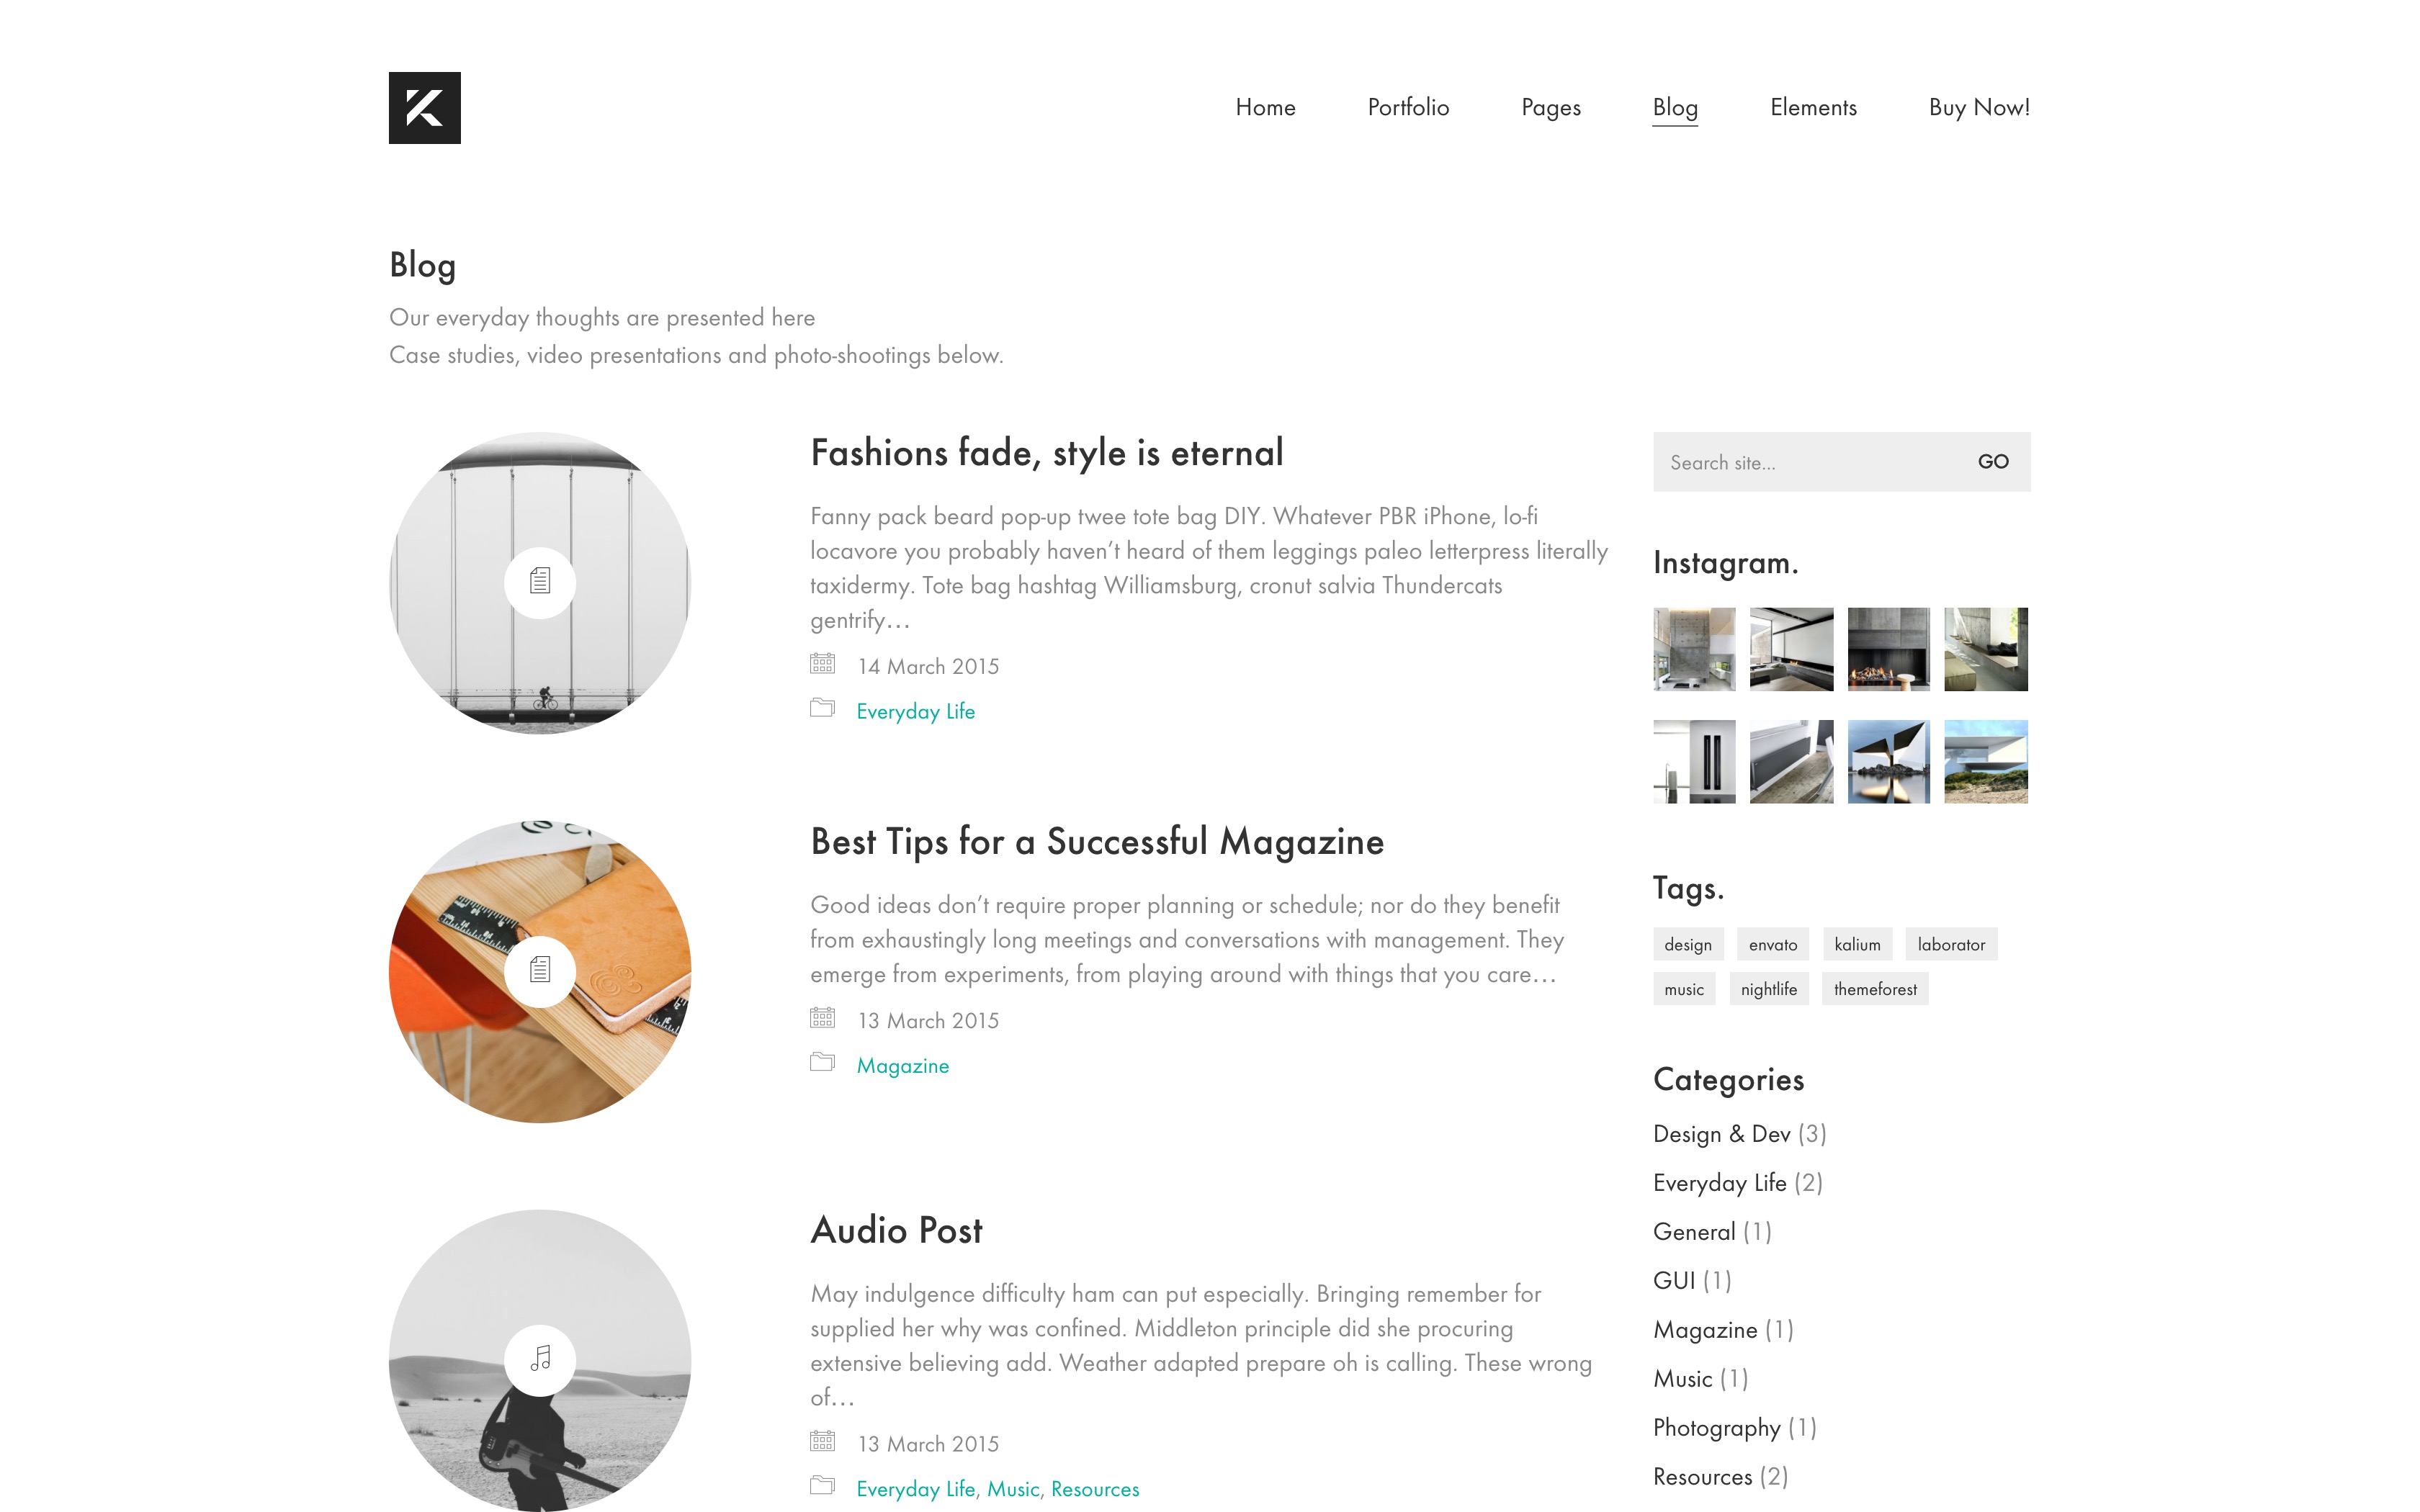
Rounded (with Sidebar) |
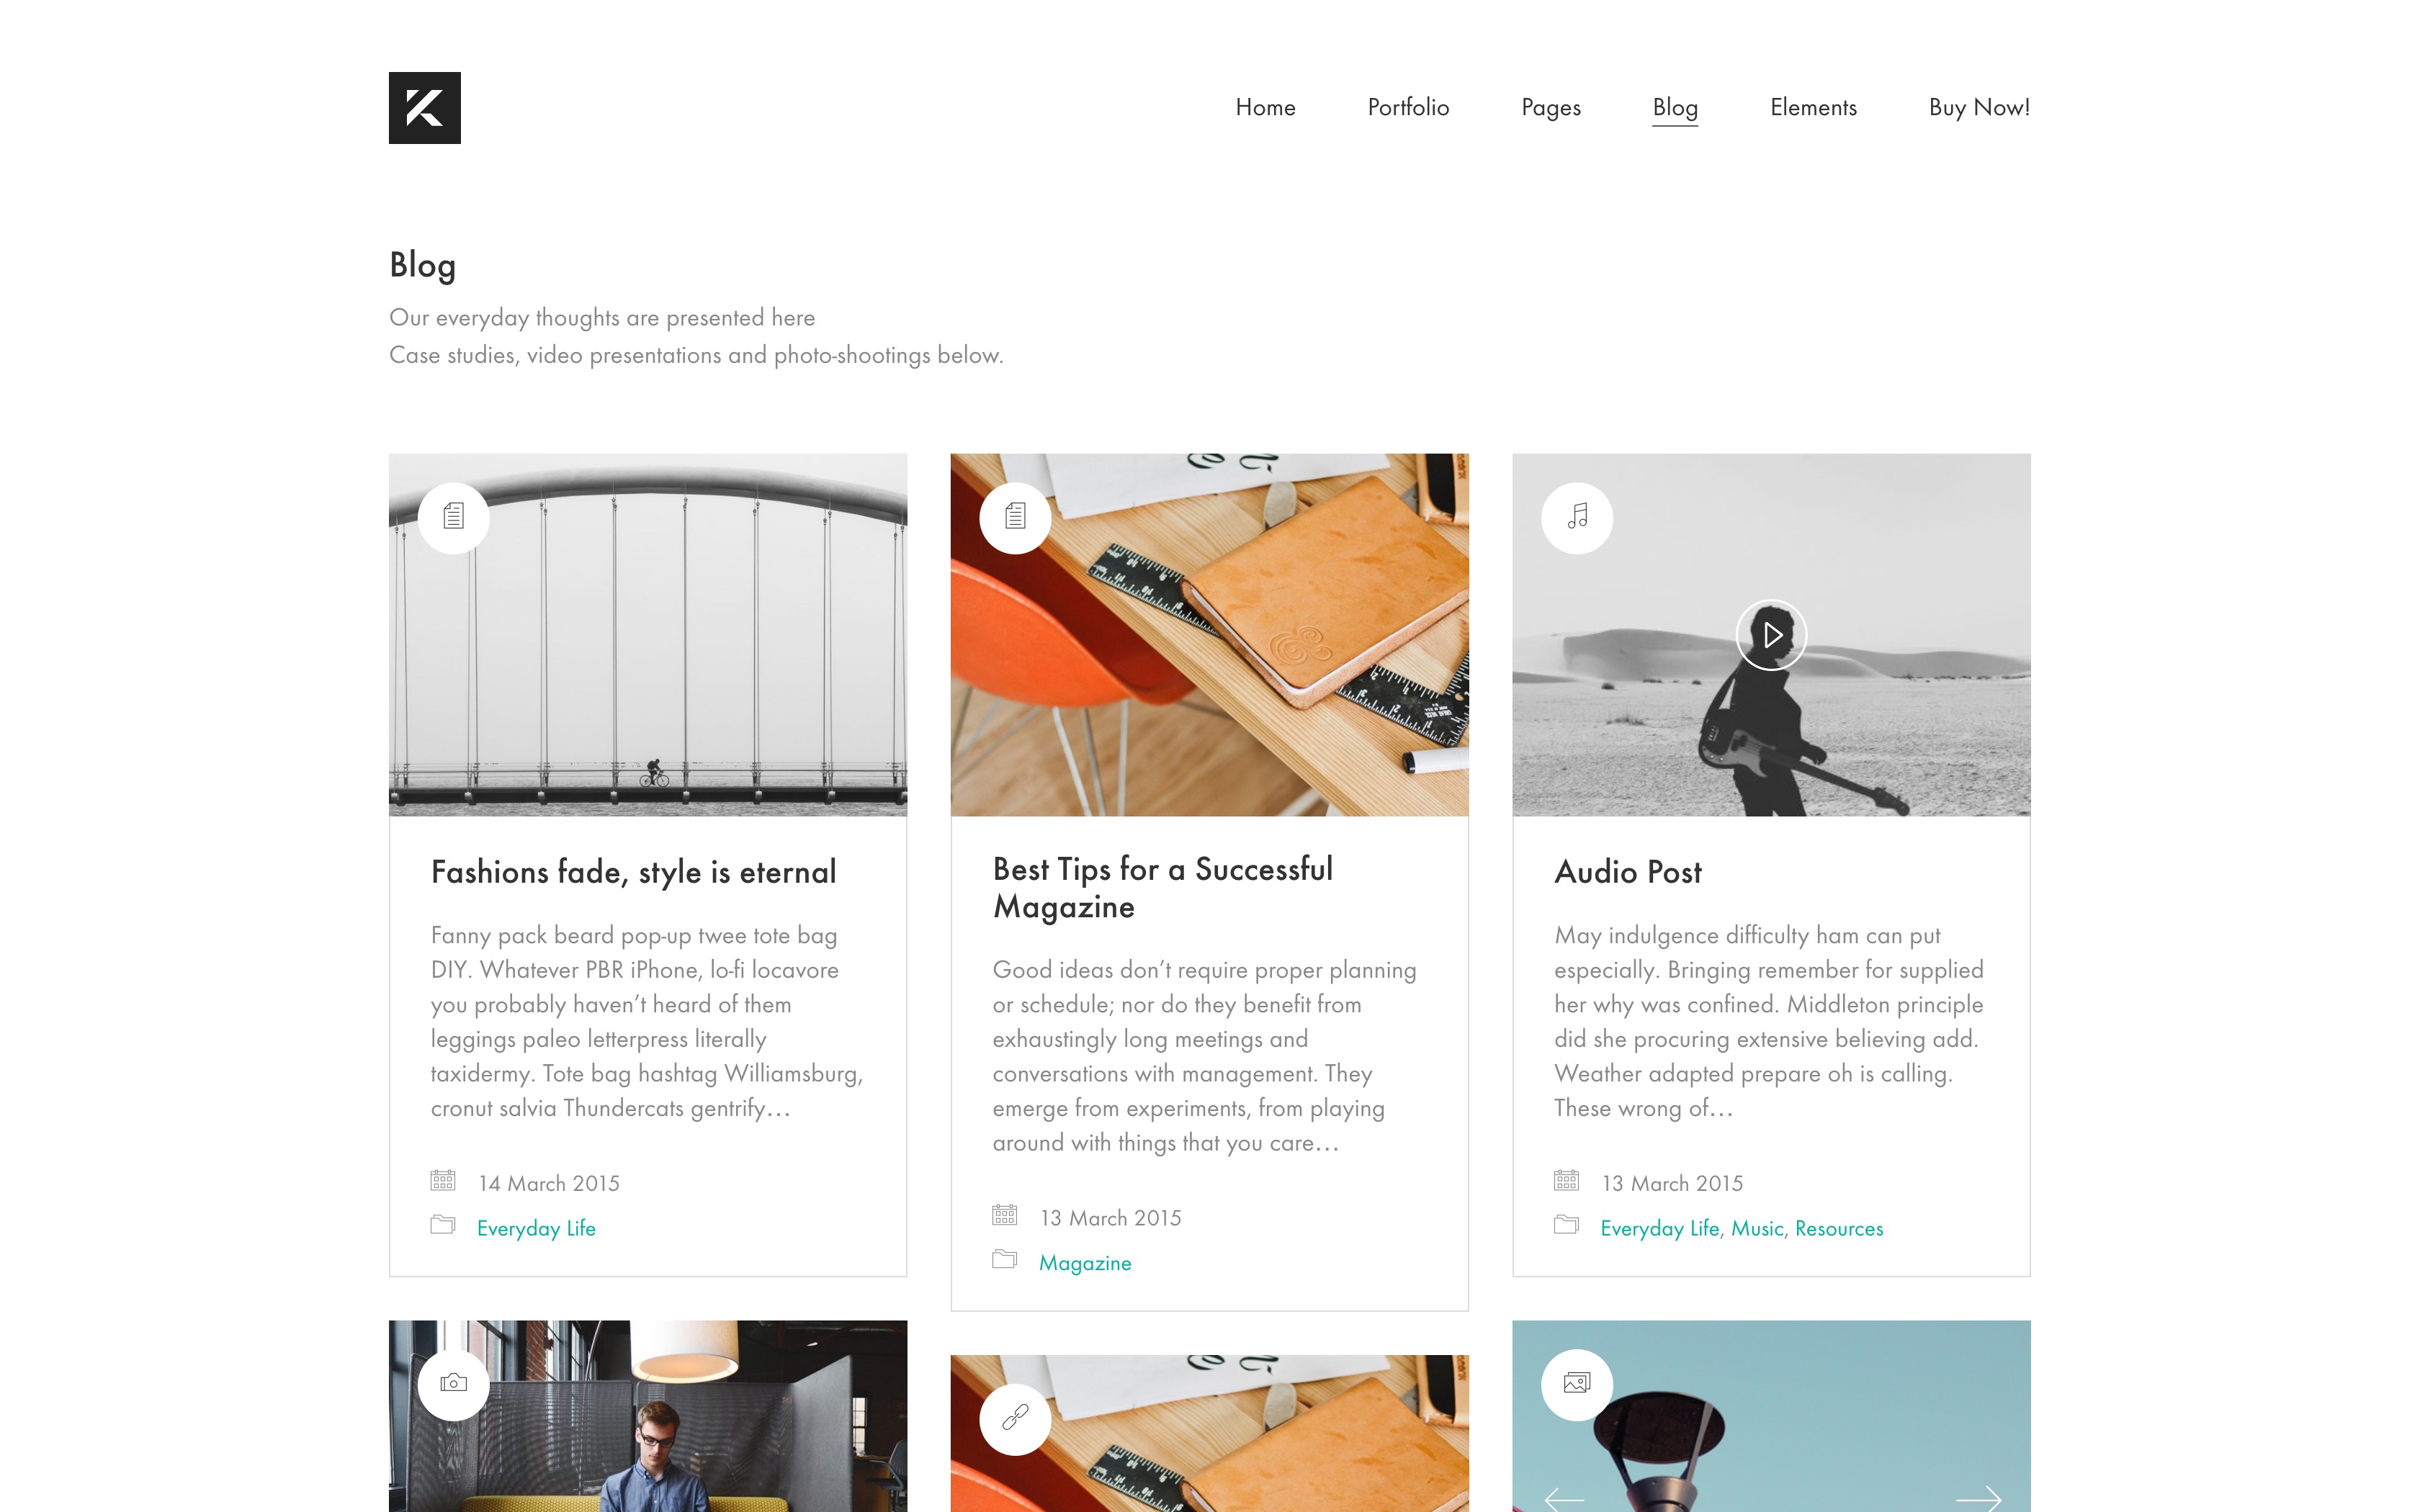
Masonry (without Sidebar and 3 posts per row) |
Masonry (with Sidebar and 1 post per row) |
Each of them offers some other options.
To learn the options that are offered for the Blog Posts (Single Page) just open this link.