
 You can use Clients WPBakery Page Builder (formerly Visual Composer) element if you want to showcase your clients logos on your site. Or you can use it for anything related that you think that this element will do the job. To learn how you can use this element you can watch the video or follow this step by step tutorial:
Add Clients element
- Make sure that you have clicked Backend Editor button on the WPBakery Page Builder (formerly Visual Composer) area.
- Click on the Add Element button to continue.
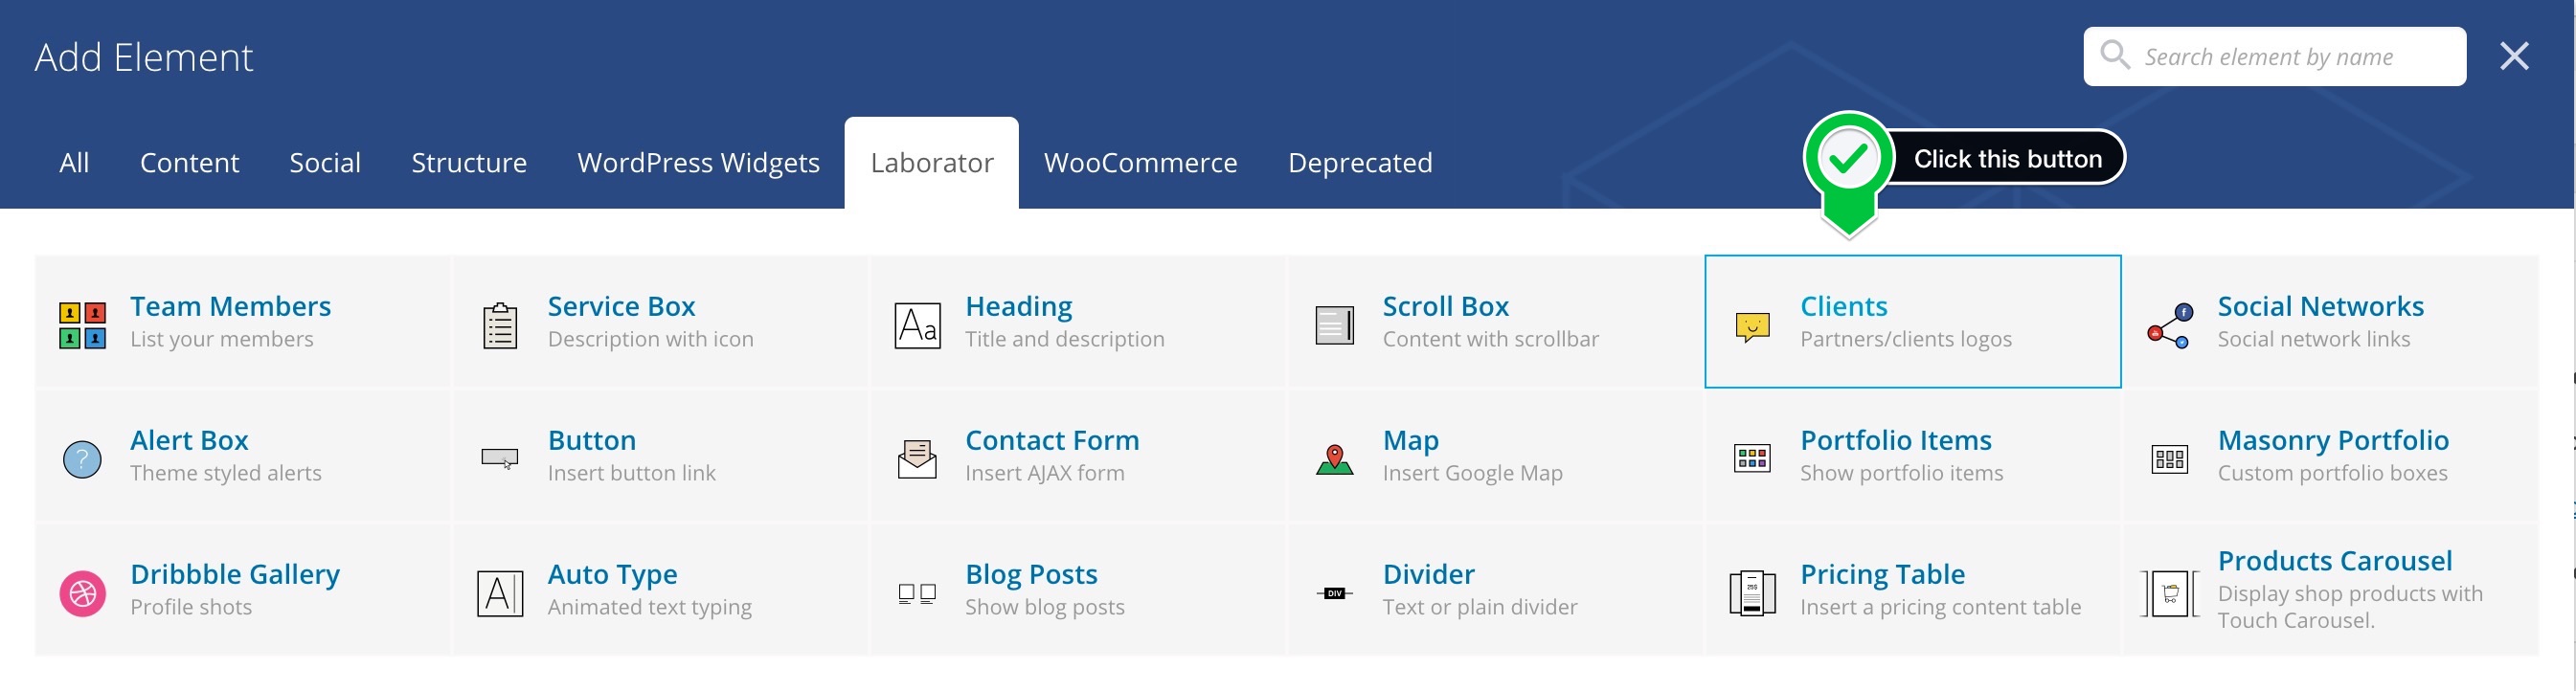
- Then when the Add Elements area appear just click the Laborator tab
- Choose Clients element.
- Clients Setting popup will appear and the options to choose are those:
Clients Settings
A lot of options are self explanatory and they also offer a description but we will explain them again here:
- Clients per Row — Set number of columns for clients/partners logos. Available options are 2, 3, 4, 5, 6, 7, 12 Logos per Row.
- Spacing — Set spacing for logo columns. Option are No Spacing and Apply default spacing.
- Image Borders — Choose if you want to show borders or not. Options Yes or No.
- Hover Style — Select hover effect style to apply for team members entries. Options are None, Full background hover or Distanced background hover.
- Custom Hover Color — You can set the hover color.
- Custom Hover Text Color — You can set hover text color if you want.
- Image size —Enter image size. Example: thumbnail, medium, large, full or other sizes defined by current theme. Alternatively enter image size in pixels: 200×100 (Width x Height). Leave empty to use thumbnail size.
- Minimum Height — You can alternatively enter height of the logo entries. If empty it will use the highest height of logos.
- Reveal Effect — Choose if you want to animate this section. Options are None, Fade In, Slide and Fade, Fade In (one by one) and Slide and Fade (one by one).
- Extra class name — If you wish to style particular content element differently, then use this field to add a class name and then refer to it in your Custom CSS area. This field appear on every VWPBakery Page Builder element.
When you finish this, then you need to add the clients logos. To do that just click the “plus” sign inside the Logos area then click the Client Logo (member details) element.
Client Logo Setting
Available options are:
- Image — Add logo image here.
- Title —Title of the client/partner (shown on hover).
- Description — Small description about the client/partner, this text area supports HTML too (shown on hover).
- Link — Add a link for this logo. So visitors can click on the logo and go to that URL (Optional).
- Extra class name — If you wish to style particular content element differently, then use this field to add a class name and then refer to it in your Custom CSS area. This field appear on every WPBakery Page Builder element.
You also can re-position those logos when you finish adding them.
Extra
If you want to speed up this process, you can add this code snippet. Just make sure that you use Classic Mode > Text and paste the code below:
You just need to attach logos, change their name and change/remove the URL-s. And that’s it! Now you mastered Clients element too 🙂