
You can add your Social Networks on your pages very easy with the Social Networks element. To do that please read this article.
Add Social Networks element
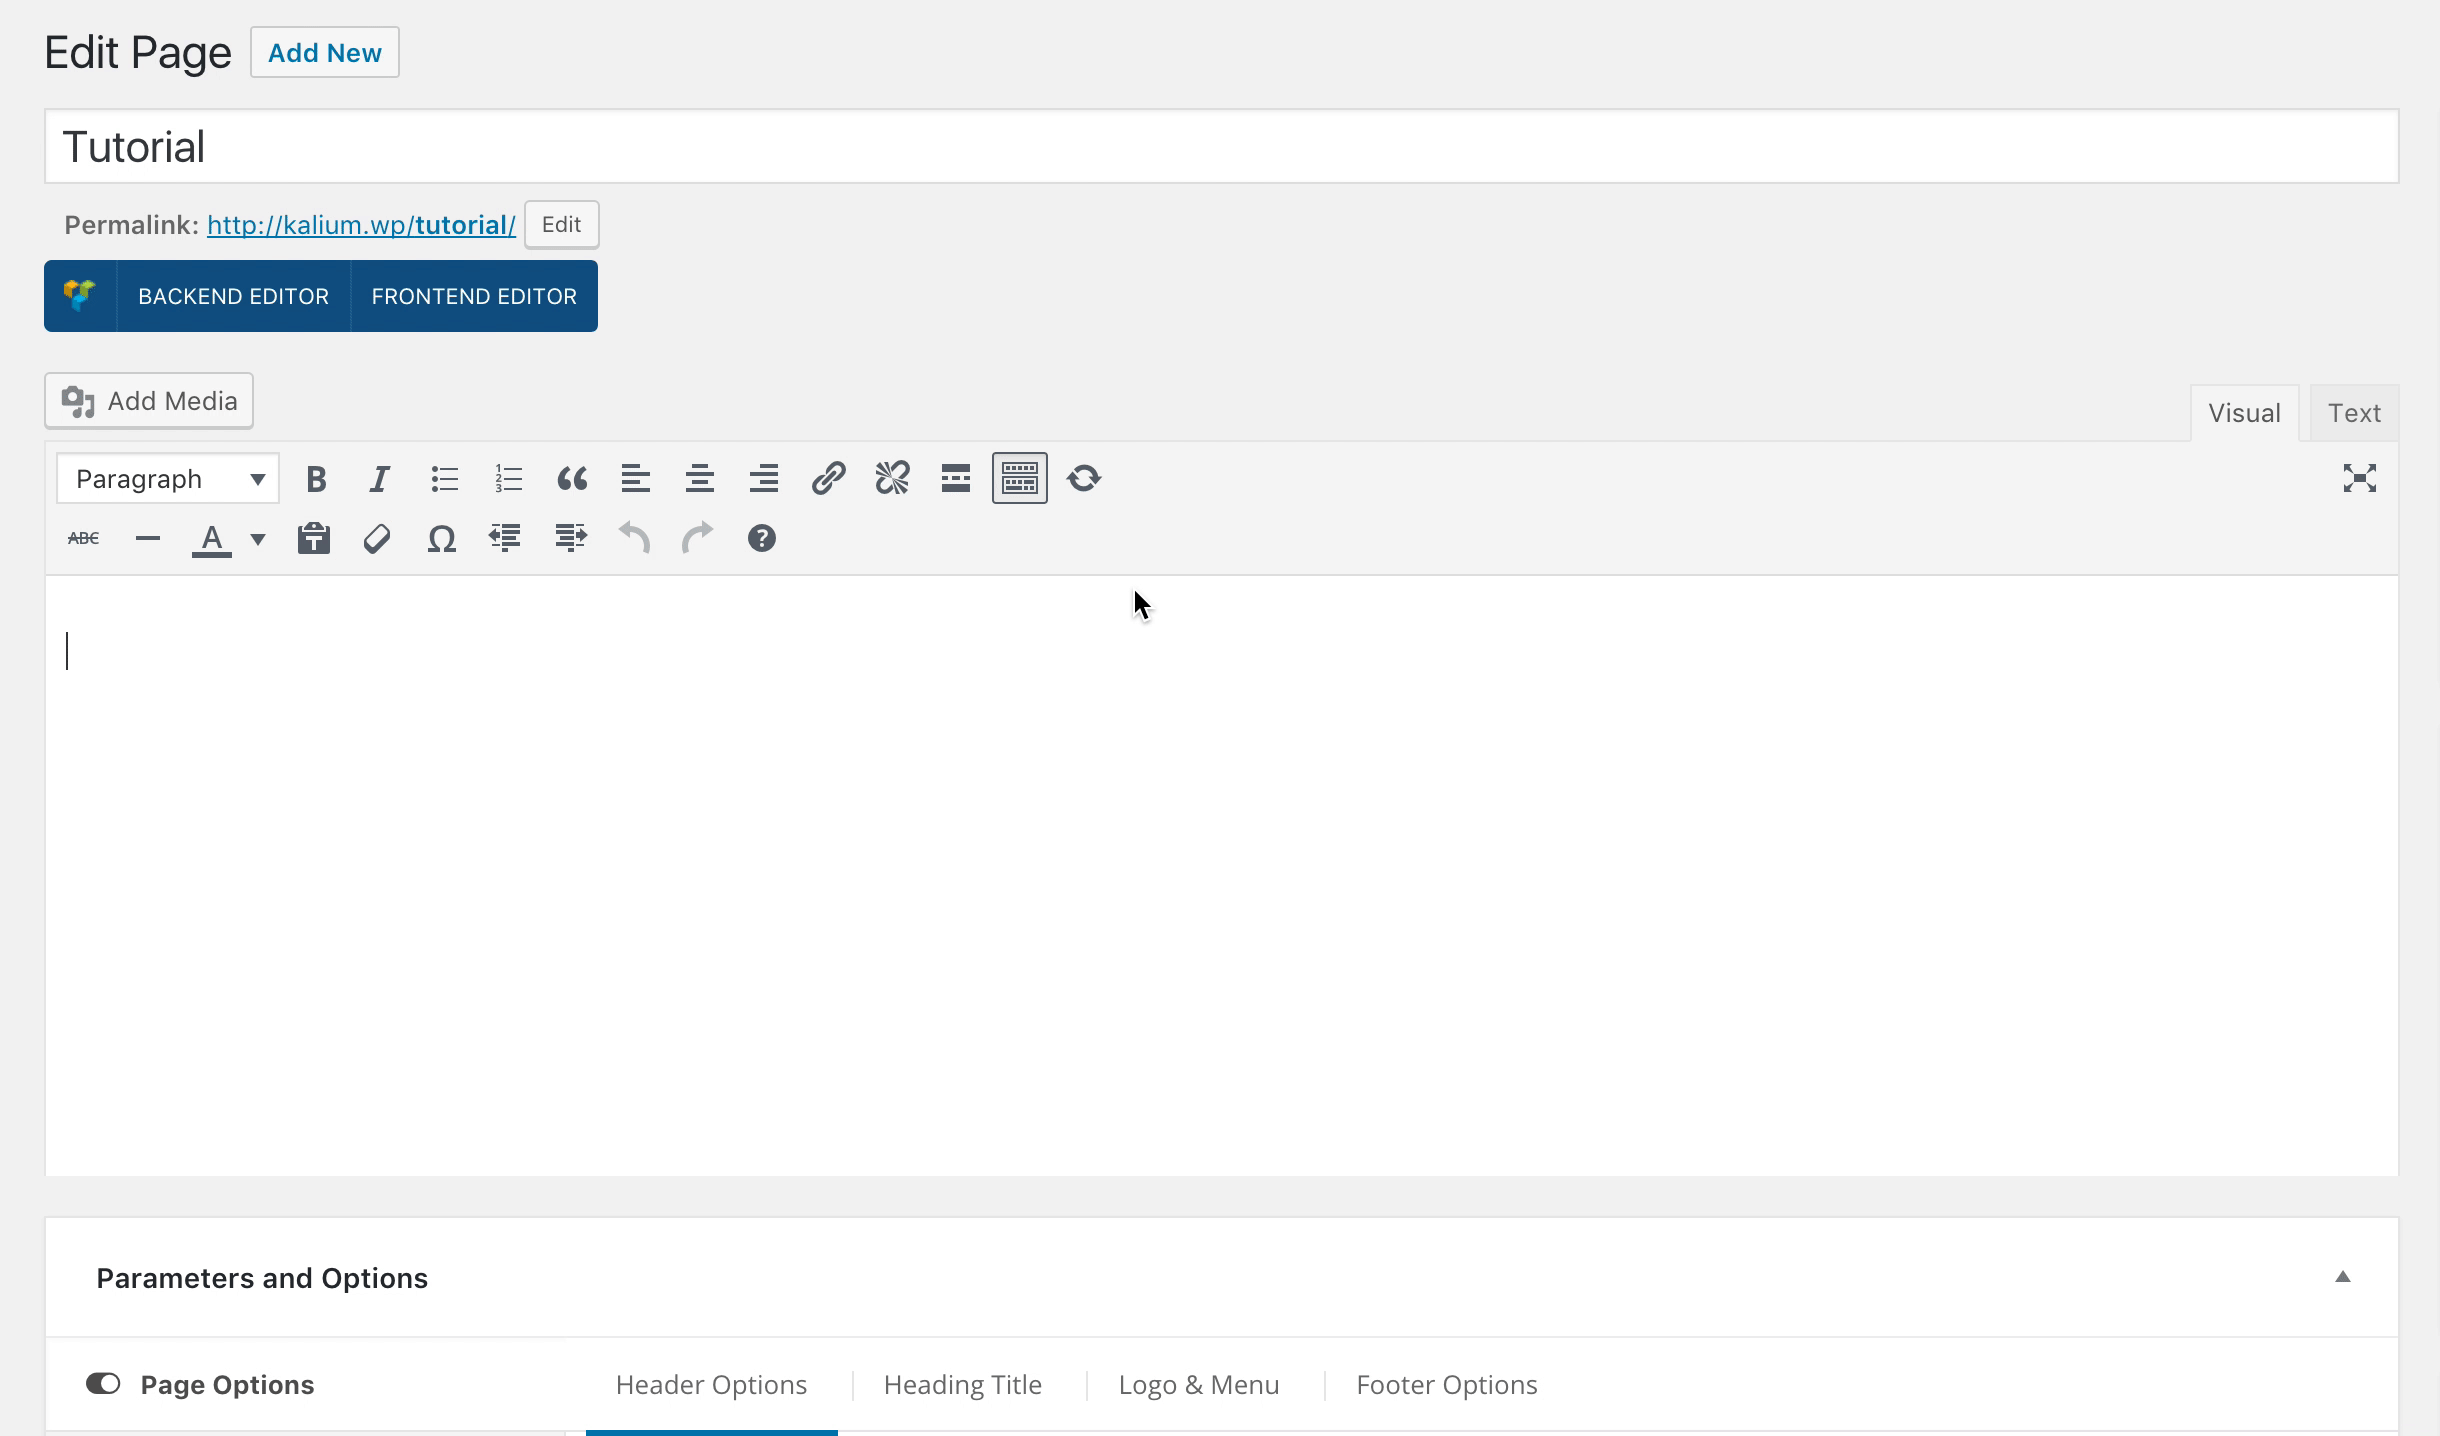
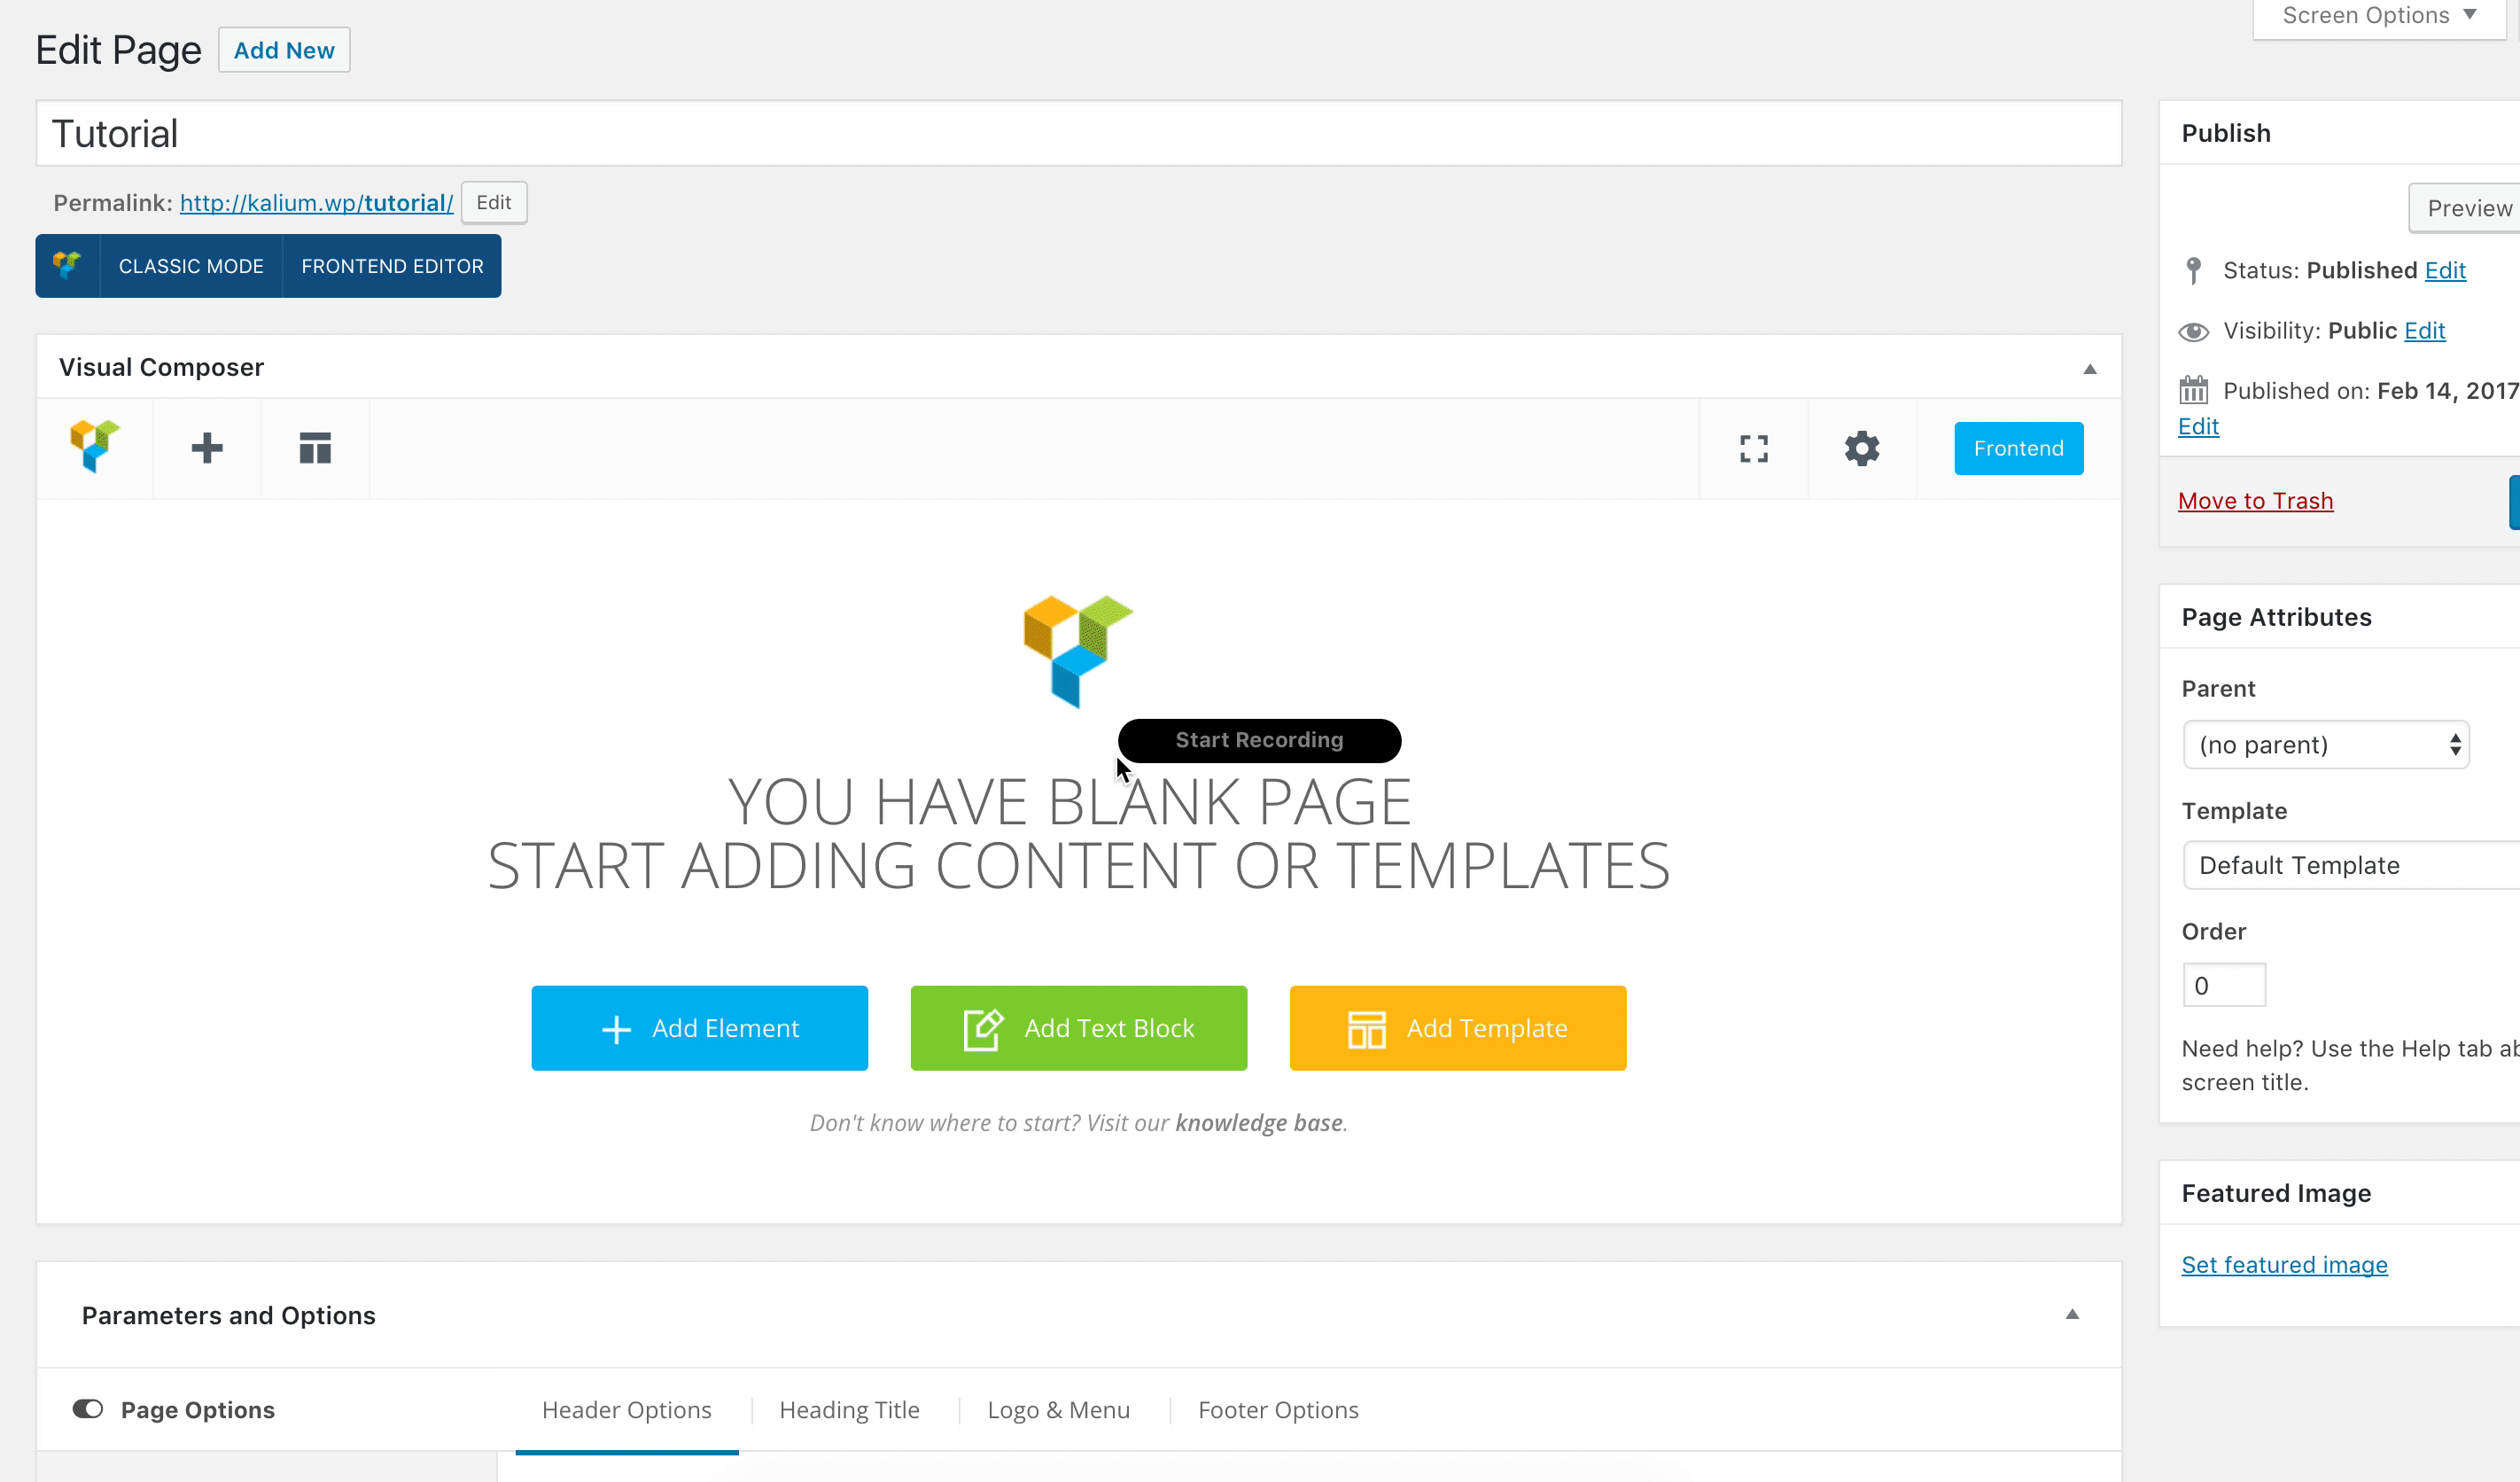
- Make sure that you have clicked Backend Editor button on the WPBakery Page Builder (formerly Visual Composer) area.
- Click on the Add Element button to continue.
- Then when the Add Elements area appear just click the Laborator tab
- Choose Social Networks element.
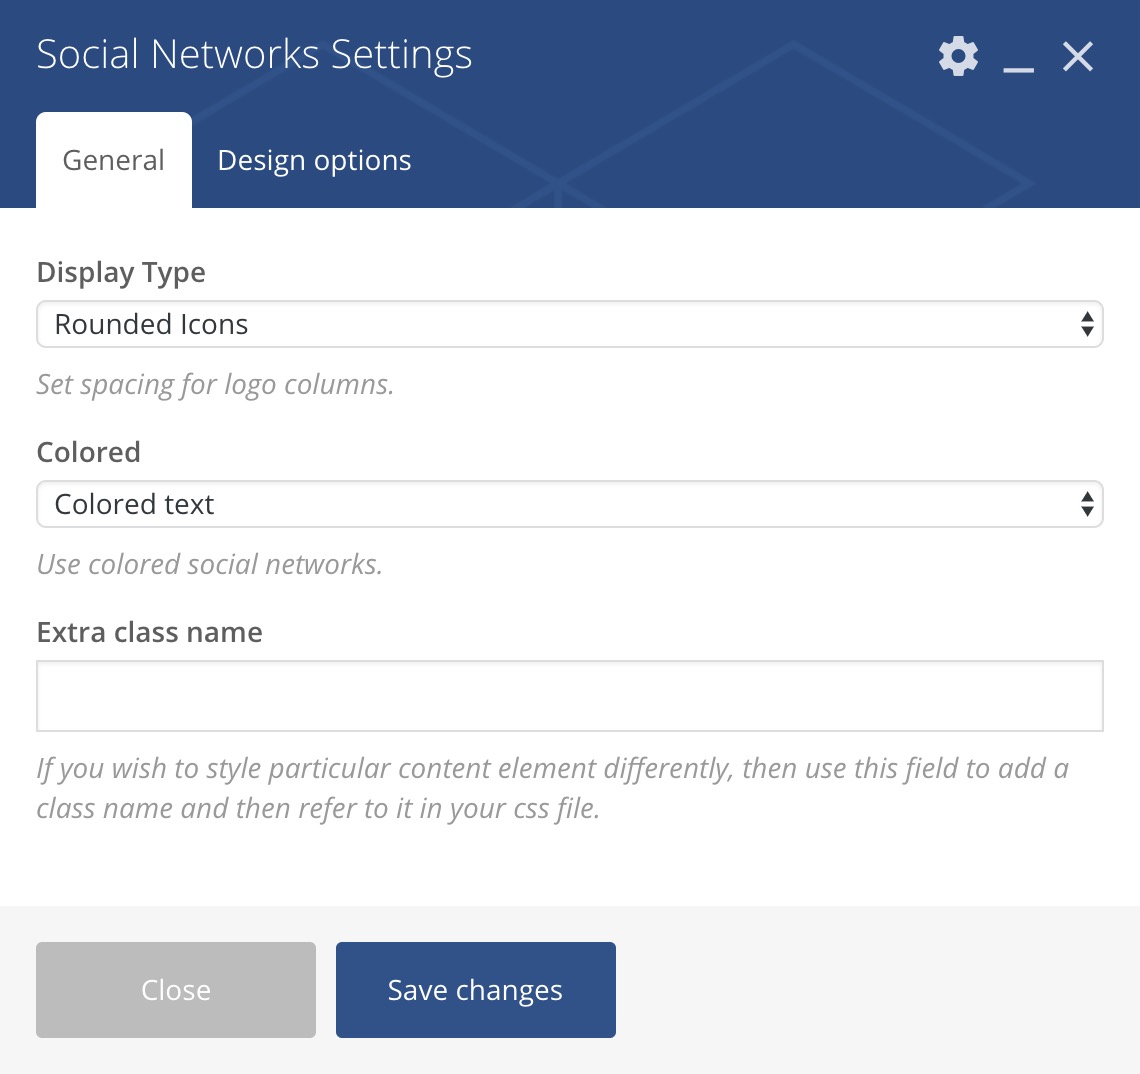
- Social Networks Settings popup will appear and the options to choose are those:
Social Networks Settings
- Display Type — Styles of the icons that you can choose are: Rounded Icons, Text Only and Icon+Text.
- Colored — Options that you can choose are: Colored text, Colored text on hover, Colored background, Colored background on hover and None.
- Extra class name —If you wish to style particular content element differently, then use this field to add a class name and then refer to it in your Custom CSS area. This field appear on every WPBakery Page Builder element.
You can see those three Display Types of Social Networks on this page.
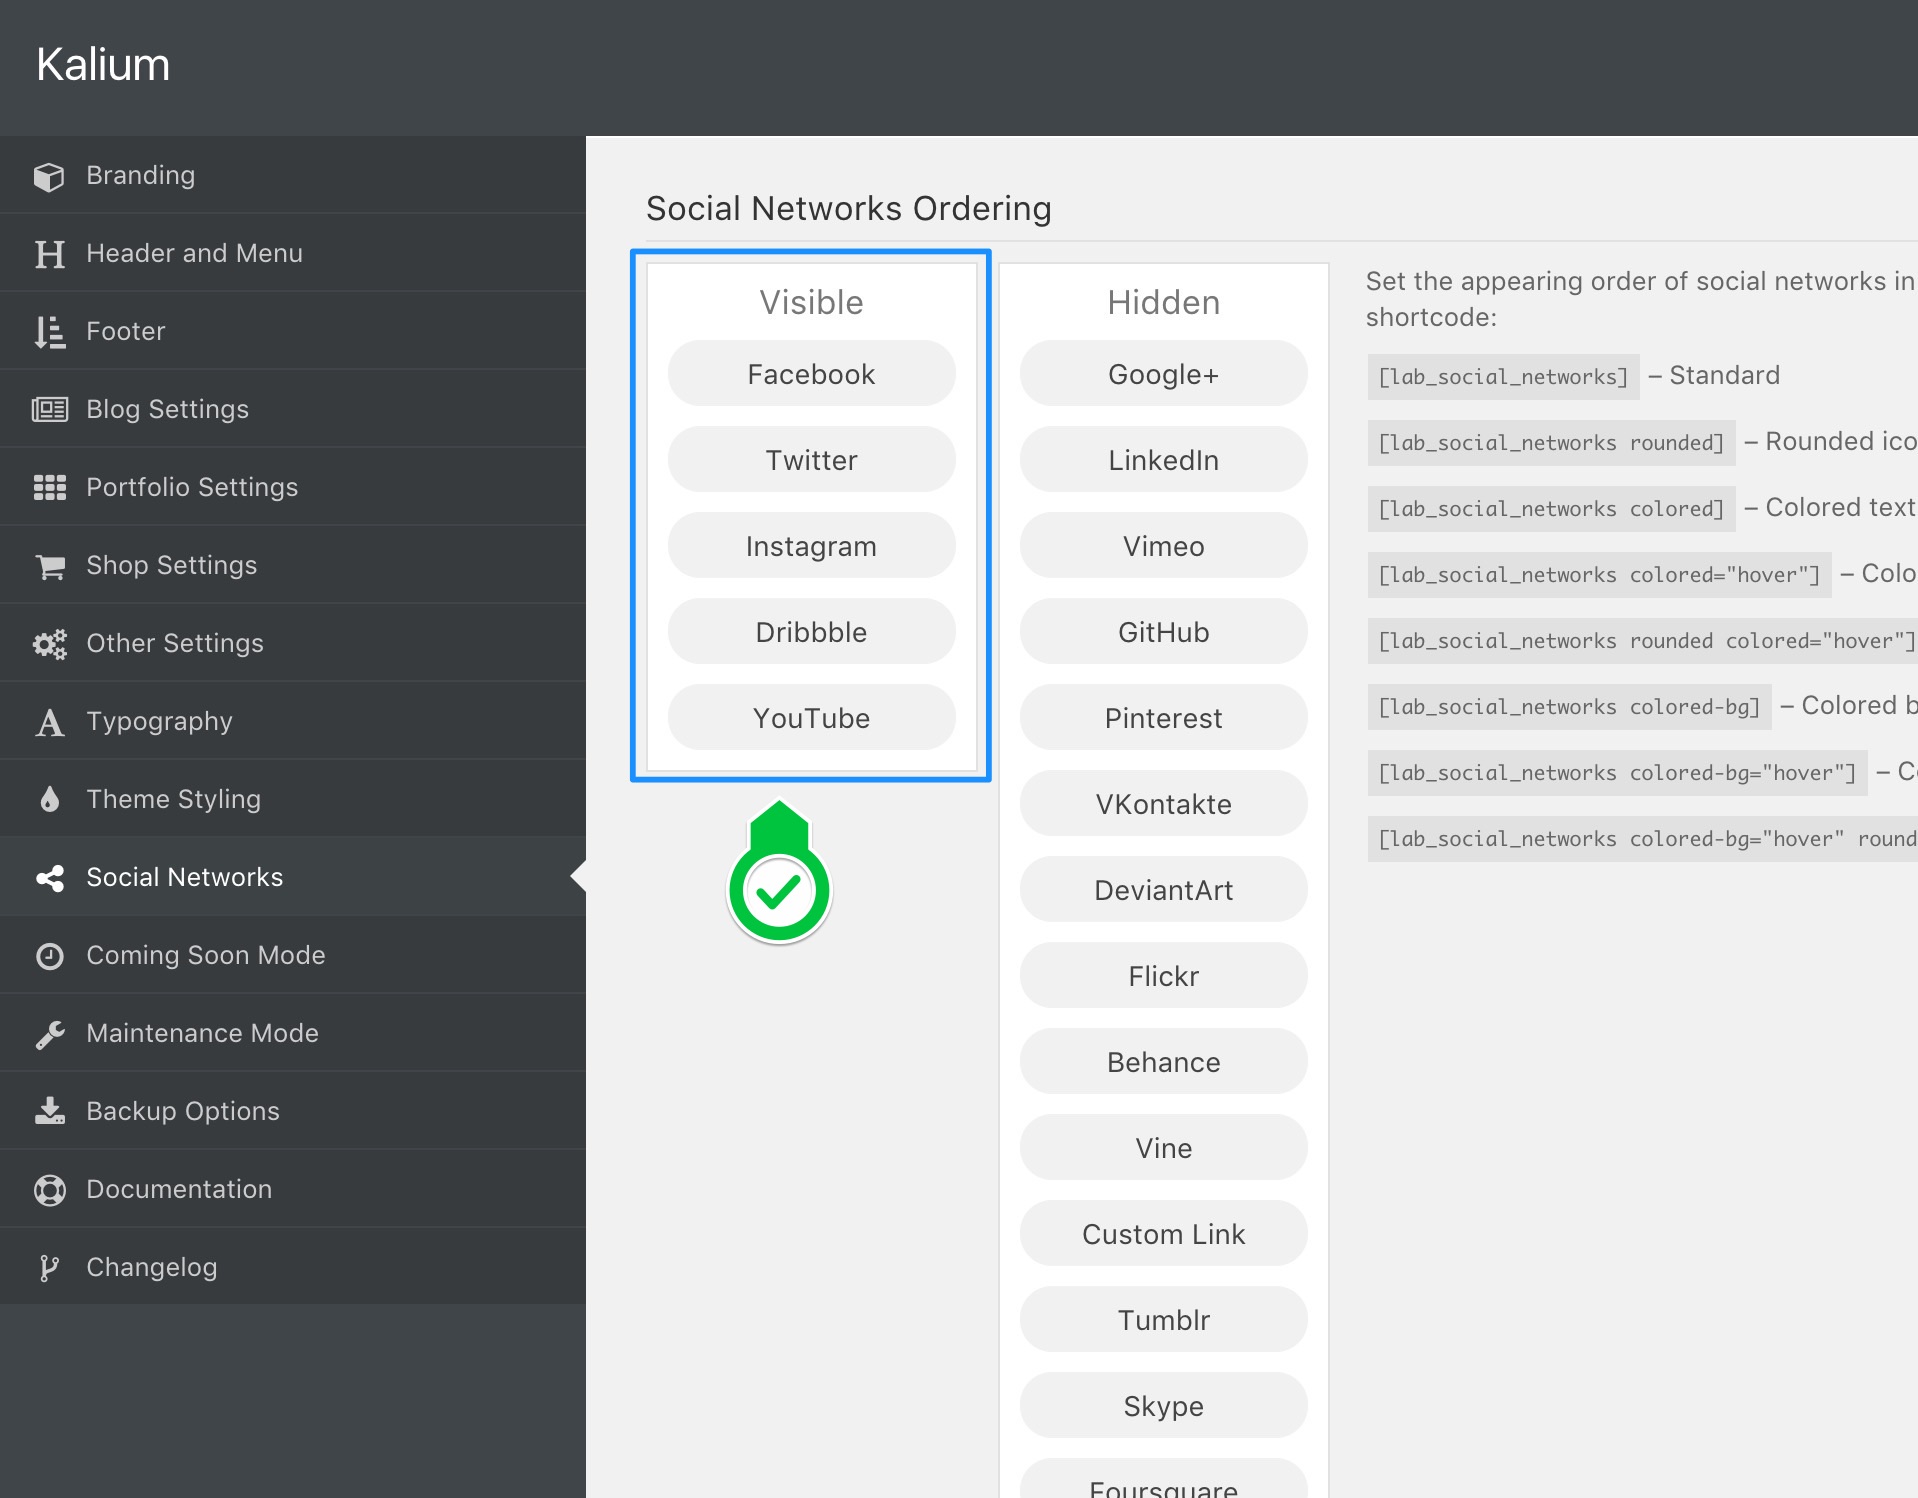
Please note that only the social networks that you have added on Laborator > Theme Options > Social Networks will appear there (read more).
Extra
If you want to show those social networks on your page too, you can add this code snippet. Just make sure that you use Classic Mode > Text and paste the code below: